To use CDQ APIs, you must properly authenticate our services. For authentication, you can use the API key or OAuth2 Client Credentials.
- If your organization is already a CDQ customer, ask your internal point of contact to create a CDQ dedicated account. Account detail will be sent by email.
- If your organization is not yet a CDQ customer, please contact us to get started.
This step is common for both methods of authentication. The required type of authentication will be distinguished in the further steps.
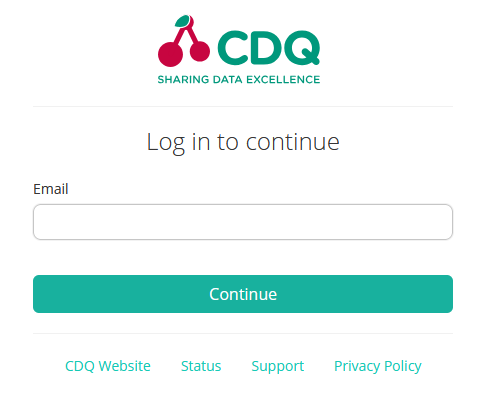
- Log into the CDQ Cloud Apps
- Navigate to the "API Key Management" App
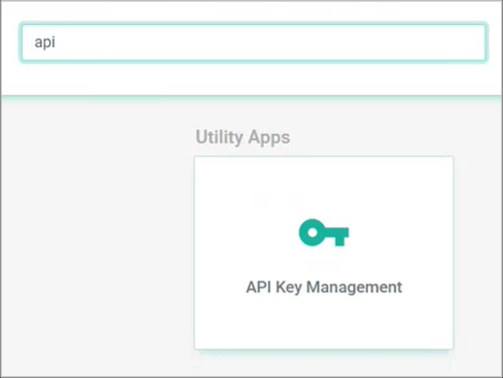
If no API Key Management App is visible, contact your local admin for API Key creation.
- Select the Create a new API Key button
- Enter the name for the new API Key

- Note down the generated
API Keyis marked in the green box.
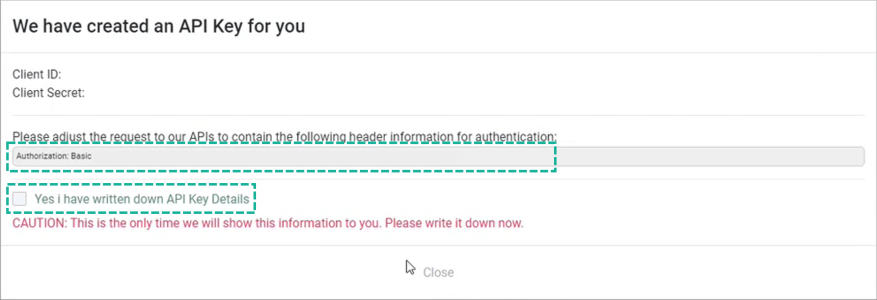
Check the example:
X-API-KEY: ZHNmd2Ratc2dzZ2RZ3NWqZHNnc2c2Rndmnc2dmZHazZ3NnZzZ3anZHM=- Click the checkbox to confirm saving the API key and close the window.
The generated API Key will be presented only once! The key cannot be recovered in case of loss. Consider saving Client ID , Client Secret as well.
- Go back to a desired API section in Developer-Portal
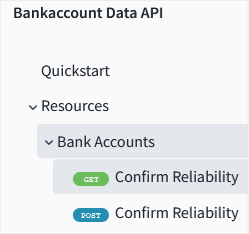
- Copy the provided API Key and paste it to the security box in the console
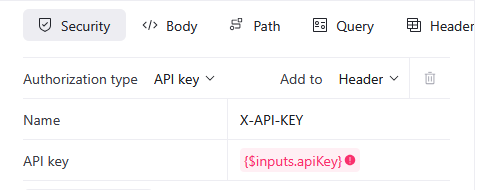
- Set needed parameters and try it!
- Note down the generated
Client IDandClient Secretare marked in the green box.
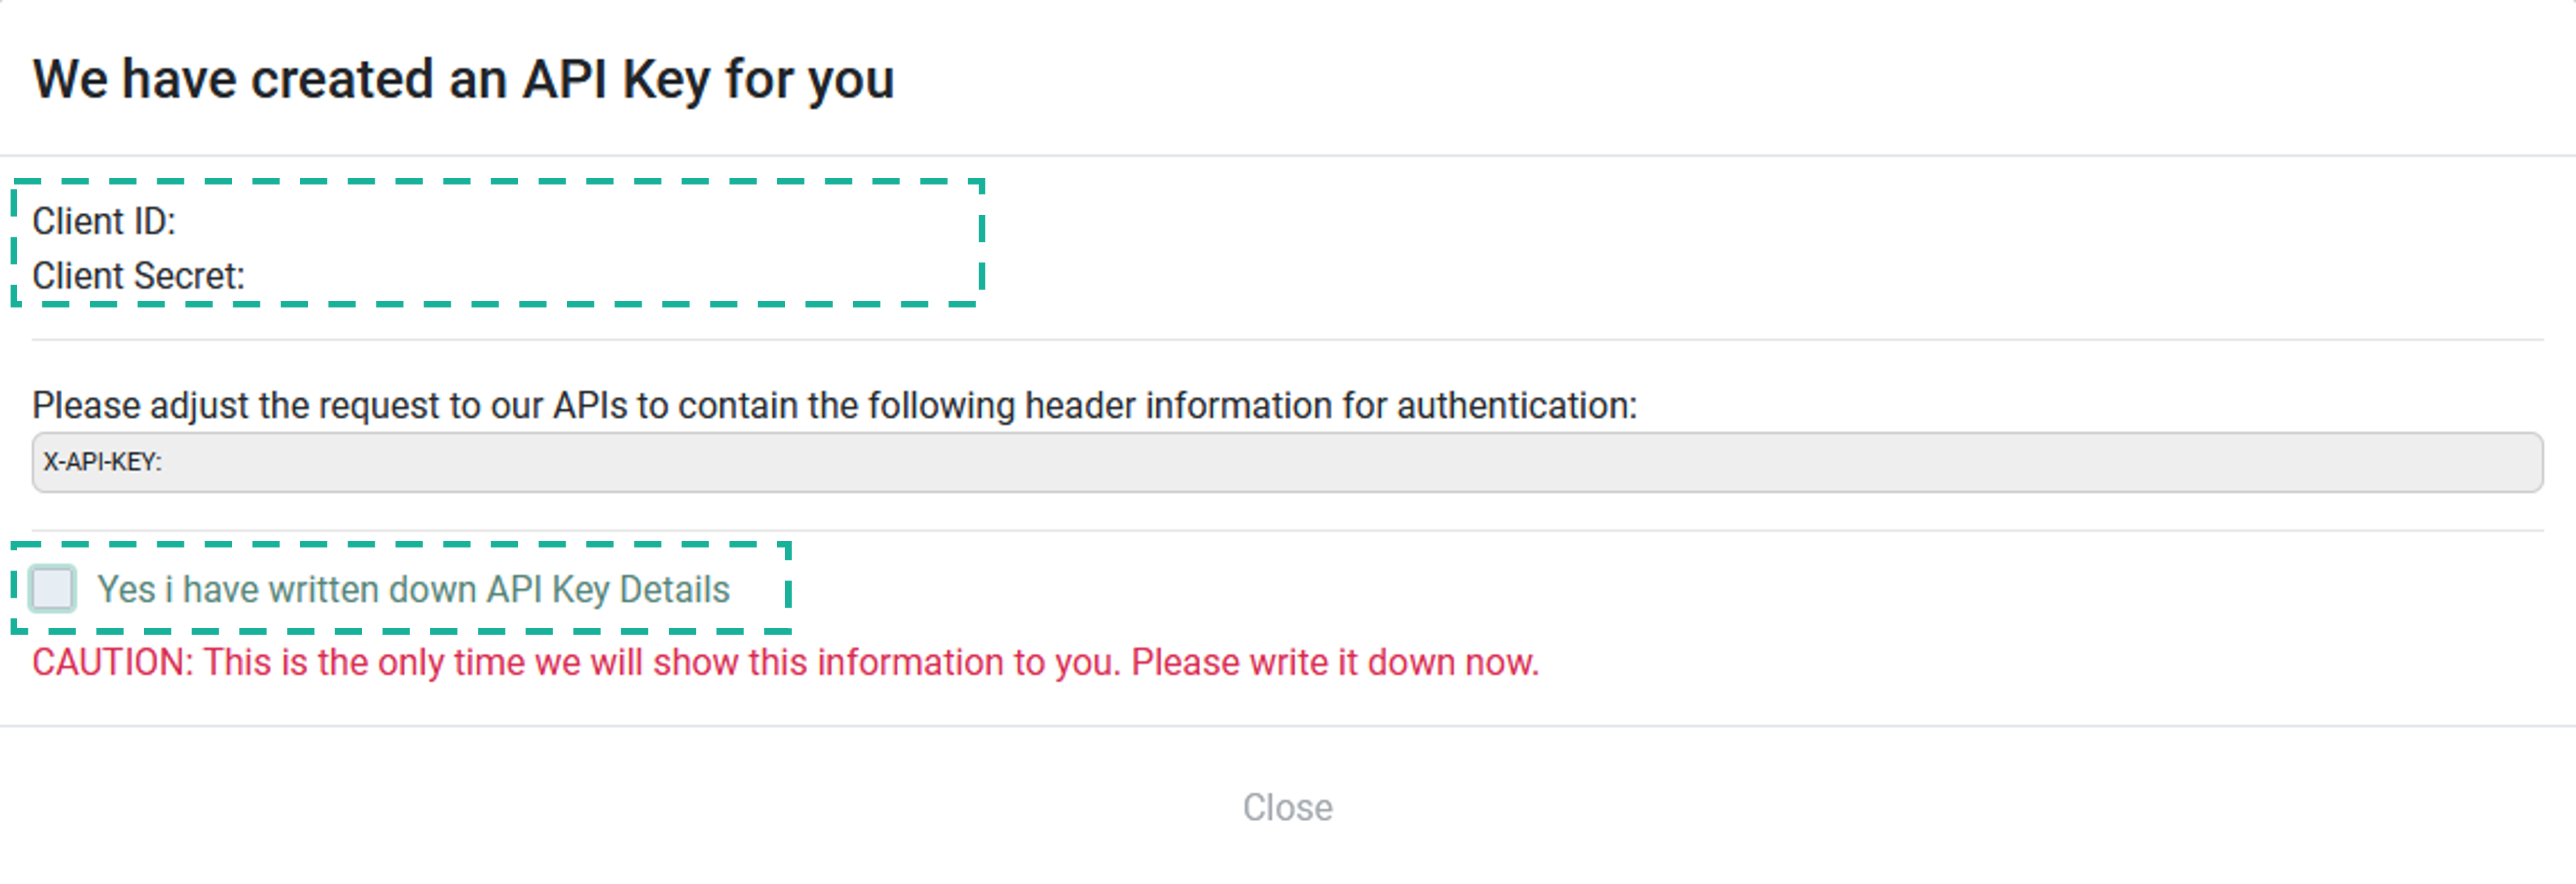
Check the example:
Client ID: f1096473-7g01-42fa-b1c5-e747b987da61
Client Secret: 5eg123cf6sp0g- Click the checkbox to confirm saving the API key and close the window.
The generated Client IDand Client Secret will be presented only once! The credentials cannot be recovered in case of loss. Consider saving API-KEY as well.
- Fetch token via token endpoint
In OAuth 2.0 approach, you must generate authentication token first.
- Use the below data in the API Client of your choice:
| Environment | Method | Token Endpoint |
|---|---|---|
| Production | POST | https://id.cdq.com/auth/realms/cs/protocol/openid-connect/token |
| Name | Sent as | Value |
|---|---|---|
| Content-Type | Header | application/x-www-form-urlencoded |
| Authentication | Header | "Basic " + Base64(<Client Id>:<Client Secret>) |
| grant_type | Parameter (body) | client_credentials |
Example using cURL:
curl -X POST \ https://id.cdq.com/auth/realms/cs/protocol/openid-connect/token
     -H "Content-Type: application/x-www-form-urlencoded" \
     -d 'grant_type=client_credentials' \
     -u "<Client Id>:<Client Secret>" \
Example using Insomnia:
- Add a new POST request with the token endpoint address
- In the request body select Form URL Encoded
- Set
grant_typeparameter toclient_credentials

- Set authentication to
Basic Authand provideClient IDas a username andClient Secretas a password.

- Add Header
Content-Typewithapplication/x-www-form-urlencodedvalue.

- Hit Send
Successful response:
{
	"access_token": "eyJhbG...HSmgnS_0",
	"expires_in": 1800,
	"token_type": "Bearer",
}- access_token - long string to be used in the API authentication
- expires_in - expiration time of token in seconds
- token_type - token type to be set in the API authentication
Use the authentication token
- Select one of many CDQ's endpoints and use the below data with the new request
- Add token to every request towards CDQ, Authentication: Bearer
<token>
Example using cURL:
curl -X GET \ https://api.cdq.com/requiredapi
     -H "Authorization: Bearer eyJhbG...HSmgnS_0" \
Example using Insomnia:
- Add a new request with the required endpoint address
- Set authentication to
Bearerand provideaccess_tokenvalue as a token.

- Hit Send
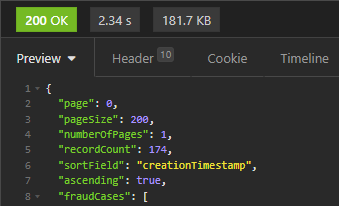
Successful response:
In the case of 403 Forbidden response check your access_token.
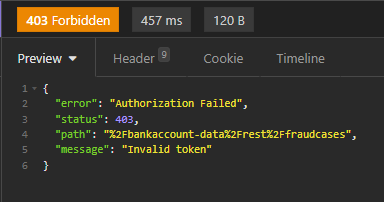
Make sure you copied the access_token value without question marks.
CDQ doesn't recommend using Basic Authentication Header Generator for authorization anymore.
We are constantly working on providing an outstanding user experience with our products. Please share your opinion about this tutorial!