Overview
This tutorial explains how to set up a commercial Data Source in the Cloud Apps to be able to receive data from D&B/ BvD via CDQ. Please note that a contractual setup is needed with the commercial data provider in order to connect to their services.
REASON: the contractual setup is required with the provider to obtain the necessary provider login credentials and to align pricing with the provider for the data attributes that will be visible and downloaded via CDQ. Commercial provider data is not invoiced directly by CDQ.
After receiving the required provider login credentials, the process can be divided into the following steps:

Before trying CDQ APIs, user must be authenticated:
- Paste the API Key in the console's security bar into the
X-API-KEYfield.
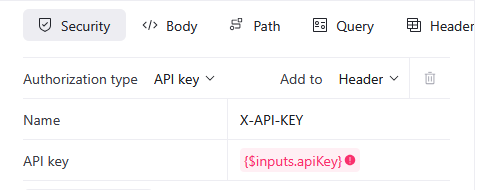
- After pasting the API Key, the green padlock will appear.

Green padlock doesn't mean that the API Key was pasted correctly.
- Check your API key for missing characters or extra space before trying.
- Check how to get one on authentication page.
- Follow the steps above.
To use commercial Data Source CDQ in Cloud Apps Customer needs to have a signed contract with a specific commercial Data Source provider (D&B, BvD etc.) using valid credentials from the provider.
CDQ supports connections to Dun & Bradstreet and BvD out of the box. You will need access to these data providers interfaces and valid credentials for any choice of the following commercial data products:
D&B
• D&B Direct Plus: Company Profile with Executives and Linkages
• D&B Data Blocks: Master Data Basic
• D&B Data Blocks: Master Data Extended
BvD
• Orbis
• Financials Modul
• Ownership-Modul
If you are unsure if your contract with any of the commercial data providers supports connectivity with CDQ, please contact your CDQ representative.
You can switch different data sources on and off from within the „Data Source Management“ function inside the Global settings.
The available sources are documented here.
- Navigate to Global Settings.
- Navigate to Data Source Management. By default, all data sources are disabled. Switch them by navigating to the gear button on the right.

- Activate the source by moving the slider to active. Repeat these steps for each source needed.
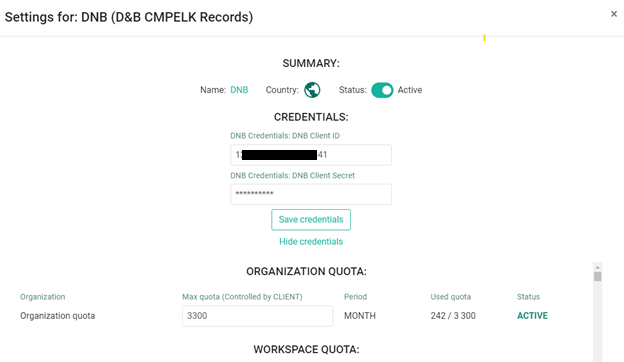
- Terms of use: Some data sources may require an opt-in to their terms of use. The slider (1) cannot be activated until agreeing with the provider terms of use. A click onto the information-icon takes you to the terms of the given data source. After confirming by checking the terms-of-use-checkbox, the slider will then be capable of being activated.

- Commercial Data Sources needs special credentials, configure them by clicking the „show / hide credentials“ button.

- Enter your credentials from the external source here to activate the source.
- Navigate to Business Partner Lookup App.
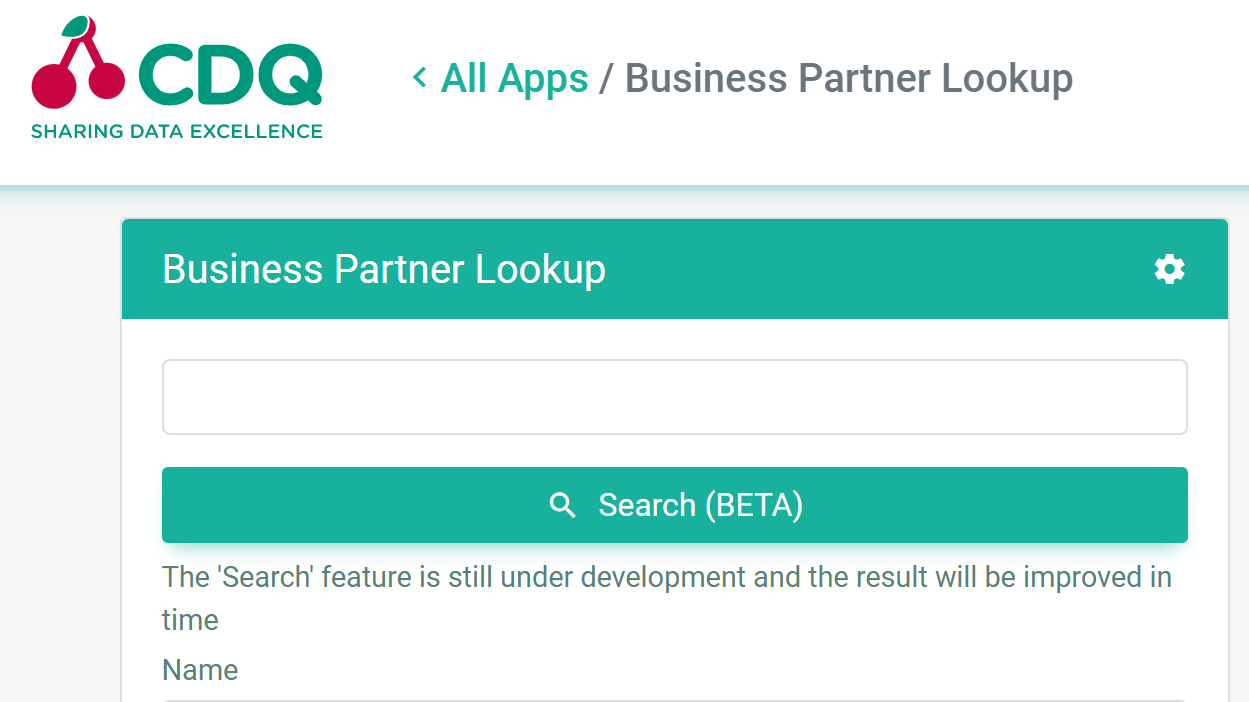
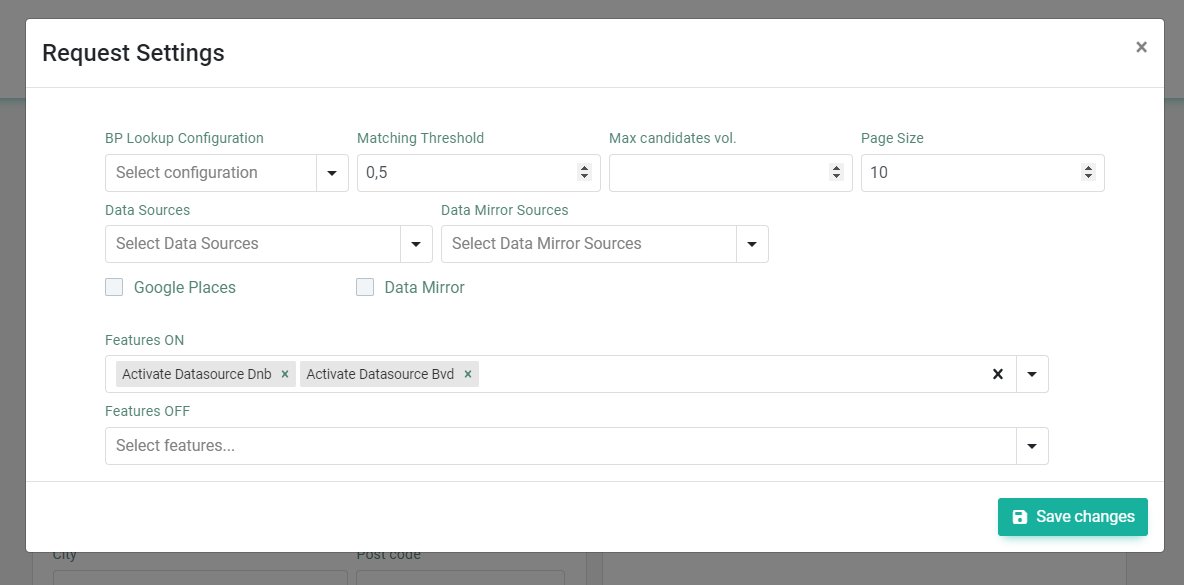
- Click the Wheel Icon.

- Data Source needs to be added in The Features ON to be successfully provided in the results.
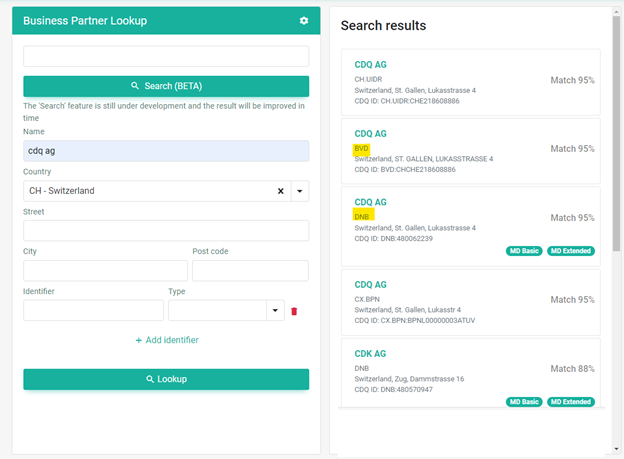
- Check connectivity.
Enter a company name and a country and check if results arrive from the new provider.
To connect to the CDQ services via API, you will need a CDQ API key to be set up inside the new organization. The key generation can be found inside the utility apps. API keys are a central element inside the CDQ-environment:
- They store what sources to use for your requests.
- They store how these sources are configured.
- They determine the priority of sources.
If connecting to multiple target systems, you may need to set up multiple API keys for different purposes in your organization.
To get the API Key go to the first step of Authentication instruction.
We are constantly working on providing an outstanding user experience with our products. Please share your opinion about this tutorial!