Use Case
This use case describes the recommended use of CDQ Cloud Services for establishing continuous data quality monitoring for Business Partner data.
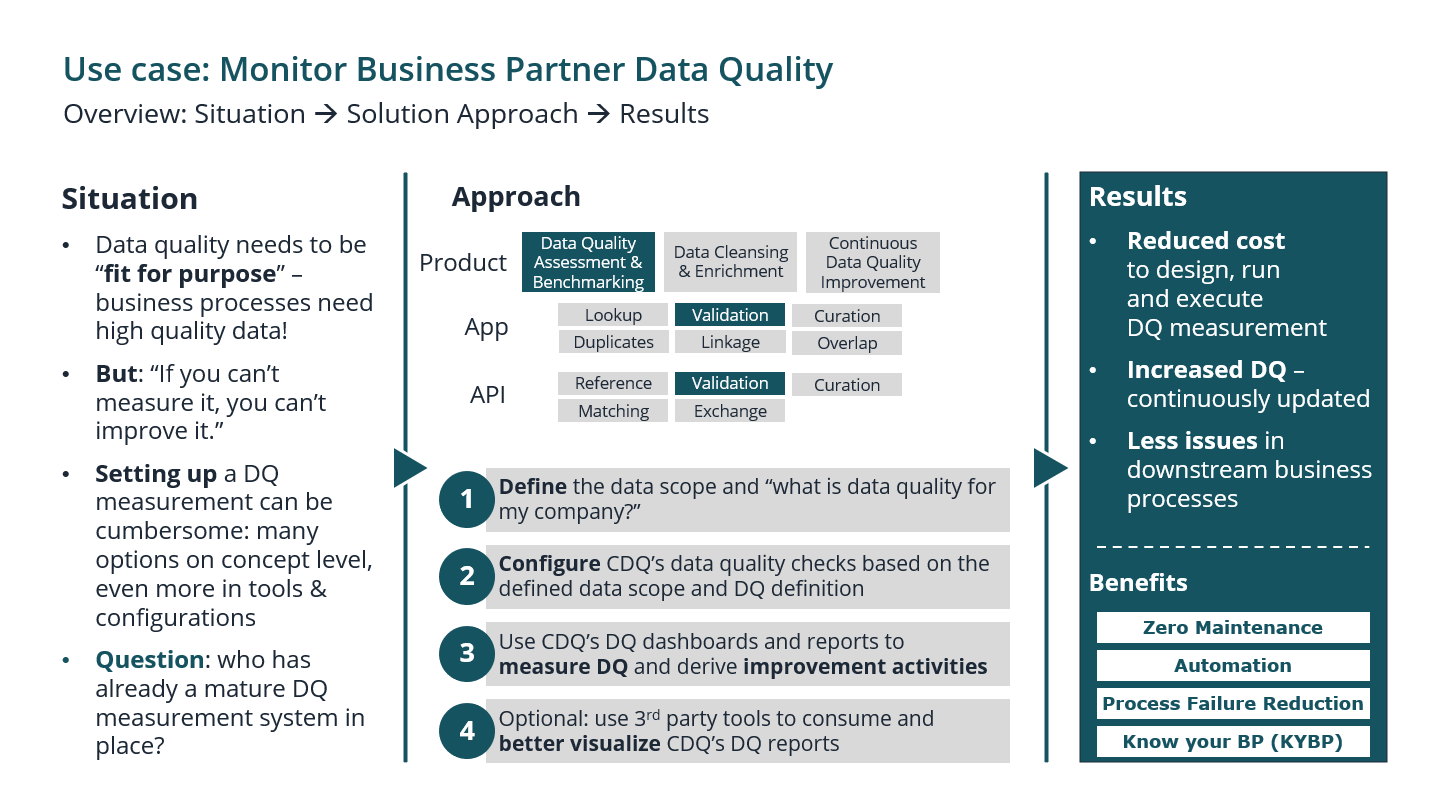
A complete use case description is available on the Wiki.
Learning Goals
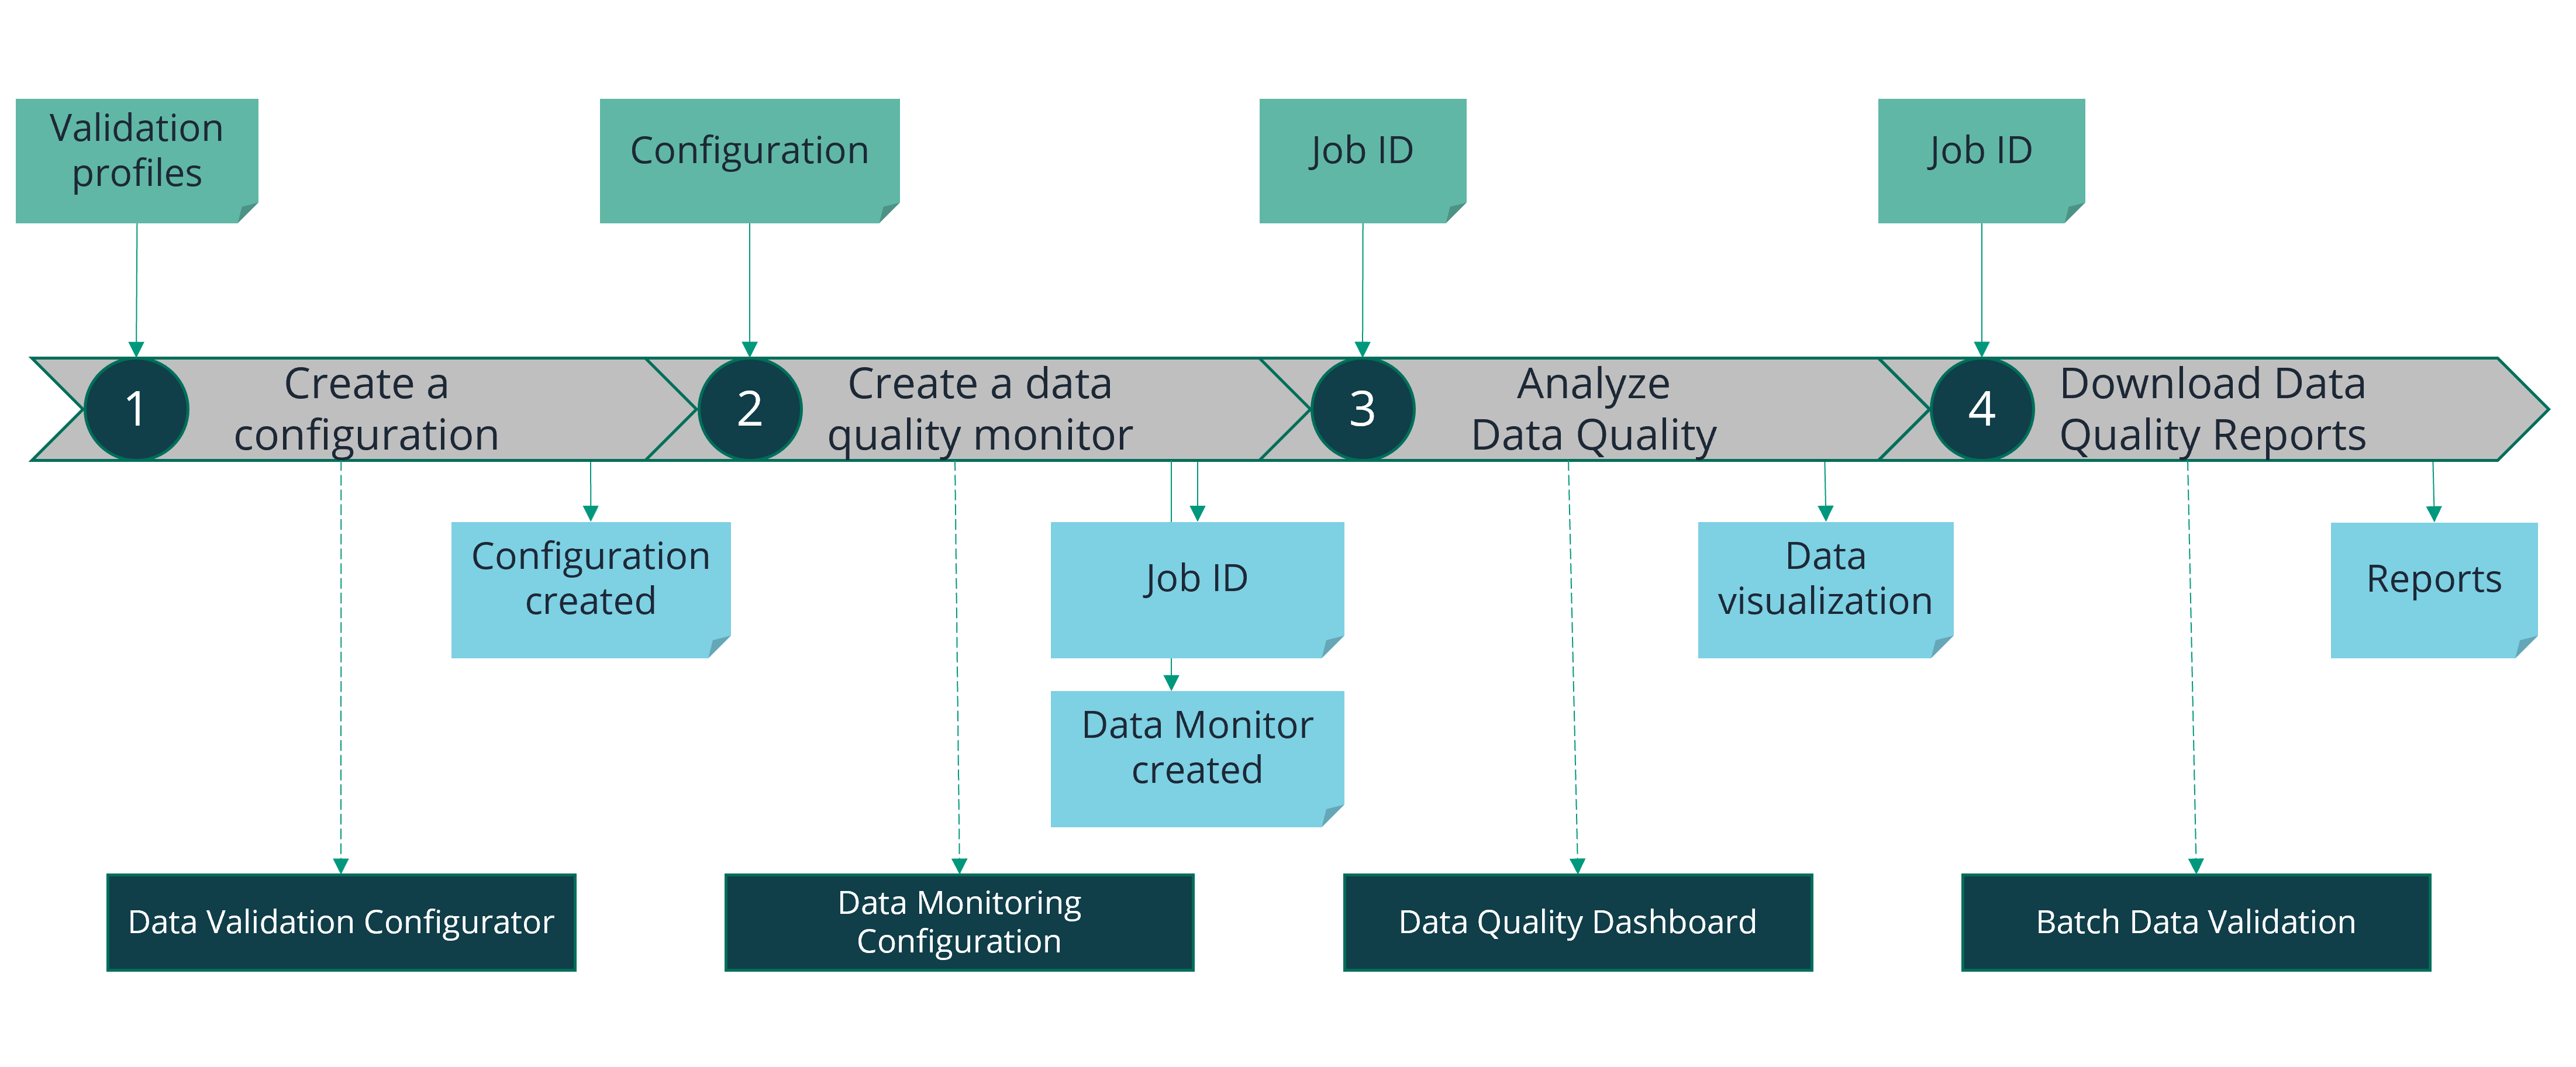
In this tutorial, the user will be focused on:
- Creating configuration based on validation profiles using Data Validation Configurator cloud app.
- Creating data monitor based on prepared configuration using Data Monitoring Configurator cloud app.
- Analysing validated data with Data Quality Dashboard cloud app.
- Downloading reports using Batch Data Validation cloud app.
This tutorial is based on local data and specific naming. The presented results will be different from yours.
Login
Log into the CDQ Cloud Apps
If you have no access to the CDQ Cloud App, ask your internal point of contact to create a CDQ dedicated account. Account detail will be sent by email.
Data Mirror
To proceed with this tutorial the Data Mirror is needed. Go to this page to get more information.
Data Validation Configurator - allows customizing the validation process by certain rules and parameters.
- Pick Data Validation Configurator from accessible apps
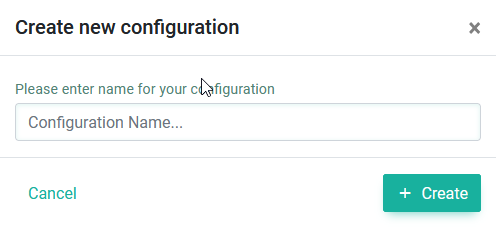
- Click create for a new configuration
- Name the new configuration
Standard - Click create
 |
- Check the
Data Validation Configurationtable below. Every configuration has a unique number assigned.
 |  |
- Select newly created configuration for an edition
- Edit the parameters in the "Details of
Standardconfiguration" section:- select
StandardValidation Profile from the list - set the Rule Status to
Release
- select
| Validation profile | Rule status |
|---|---|
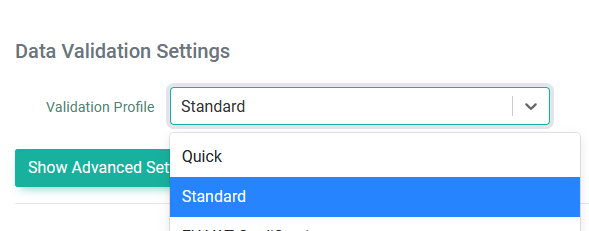 |  |
To read more about profiles visit this wiki page
- Limit validation results with the county filter in the "Data Quality Rules" section
- Use filter by country and set
DE-Germany - Set
Releasestate of the rule
- Use filter by country and set
| Setting filter | Rule state |
|---|---|
 |  |
You have created a configuration for the Data Quality Rules Engine!
Data Monitoring Configurator - allows schedule regular running jobs on the data mirror.
- Pick Data Monitor Configurator from accessible apps
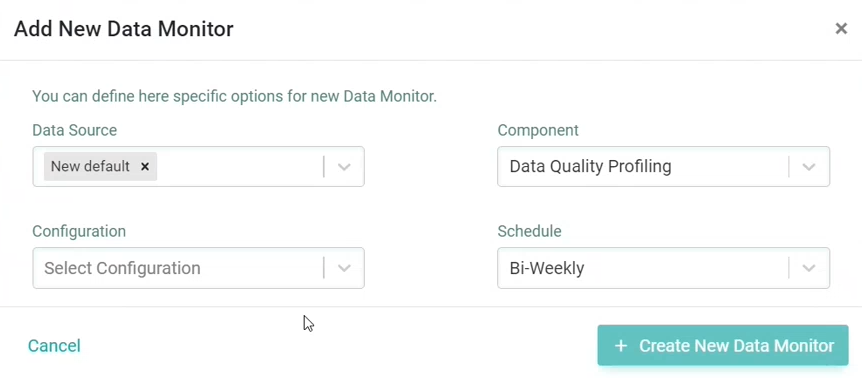
- Click Add New Data Monitor
 |
- In the creation windows pick:
- Data Mirror created before (Prerequisites)
- Configuration created in the Step 1
- Component from the list
- Schedule plan
- Click Create New Data Monitor
 |
Thanks to the schedule set during creation, the validation process of the pointed data mirror will run automatically. The report will be sent directly to the mailbox to be assigned to the user.
You have created a data quality monitor!
Data Quality Dashboard - allows for UI guided analysis of the data quality performance, customizing dynamically result reports and enables to track the progress over time.
To analise the quality of the data, it is important to prepare quality dashboard:
- Select your workspace where the desired data source is located
 |
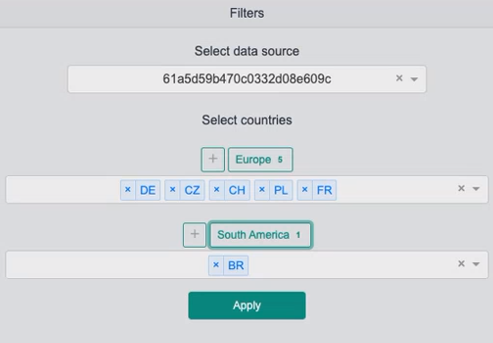
- Open the filter by clicking on the icon in the upper-left corner of the page
 |
- Set data source and select the countries you want to validate the data for
- Select Apply button
 |
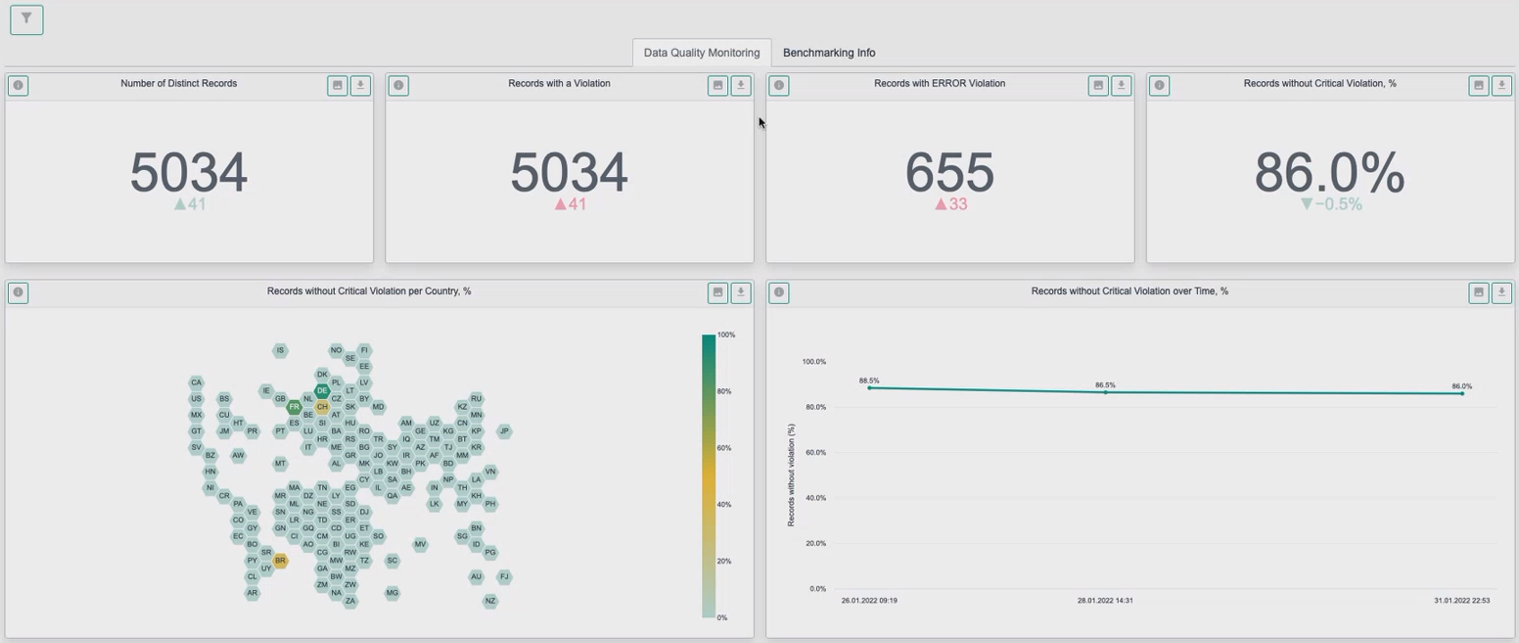
- Check the data in the updated dashboard
 |
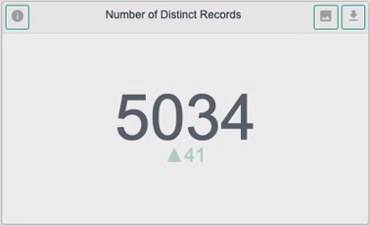
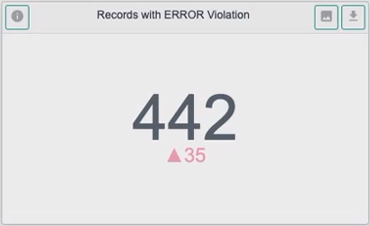
- Check the Number of Distinct Records and Records with ERROR Violation increase/decrease indicator compared to previous data quality monitor run
| Number of Distinct Records | Records with ERROR Violation |
|---|---|
 |  |
- Verify the rest of the charts
You have set dashboard for displaying desired data for visual analysis!
Batch Data Validation - run a data quality profiling on data storage and receive data quality reports.
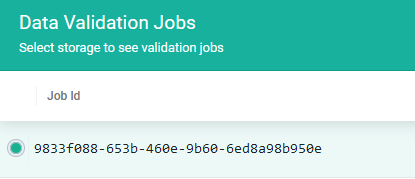
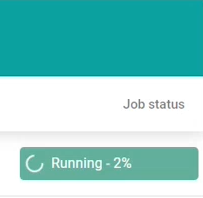
Batch Data Validation app will be used as a report reader-generated from created data monitor. When the job based on the Data Monitor schedule starts the status of completion will be visible in the Data Validation Jobs.
- Validate the job status:
| Job ID | Job in progress | Job is done |
|---|---|---|
 |  | 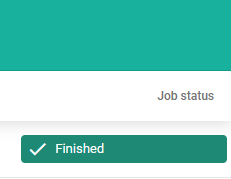 |
- If it's finished, scroll down to the Data Validation Reports
 |
- Check the completion status of the report
- Select Show Results
 |
- Select one of the results provided by the job and download it
 |
Remember to allow the browser to display Pop-ups.
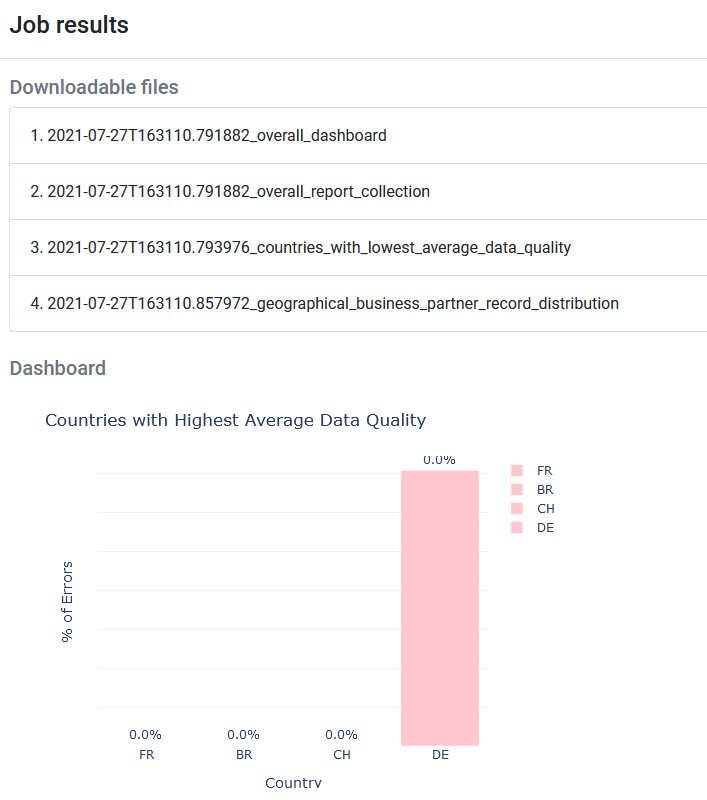
The Job result page provides a list of all generated reports and the Dashboard with charts.
 |
Now you have the report of your data quality!
We are constantly working on providing an outstanding user experience with our products. Please share your opinion about this tutorial!