Tutorial: How to monitor Business Partner updates?
Overview
Use case
Customer and vendor data quality decreases, even if the data is not touched, e.g., due to address changes, M&A, or insolvencies. Keeping the data up to date manually is a complex and high effort on a global scale. Commercial registers and other reference data sources have to be monitored continuously, and for countries without reliable reference data, data has to be researched business partner by business partner. The CDQ Business Partner Update Monitoring takes over the effort of manual update screening. Business Partner Updates are automatically collected and made available in an easy-to-analyze and integratable way.

|
| Use Case: Situation, Approach and Results |
info
A complete use case description is available on the Wiki.
Learning Goals
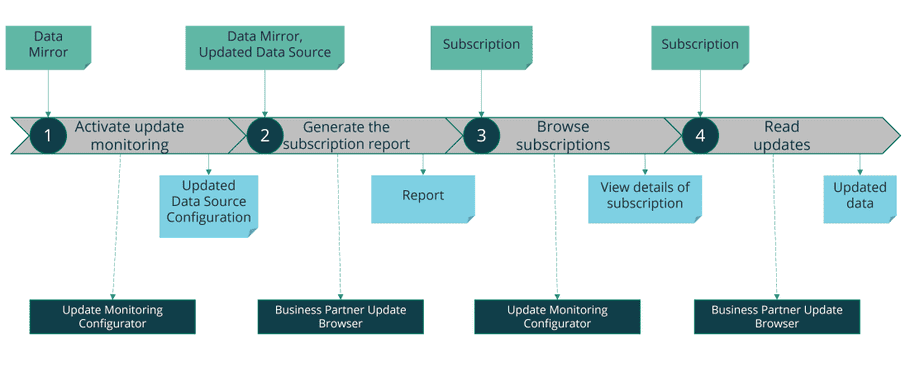
|
| Common Process |
In this tutorial, the user will be focused on:
- Creating augmentation configuration using the Augmentation Configurator cloud app,
- Creating data monitor based on prepared configuration using the Data Clinic cloud app,
- Analysing subscriptions in the Collaboration & Subscription Configuration app and generating Subscription Report in the Data Clinic cloud app,
- Analysing results in the Business Partner Update Browser cloud app and the Generation Update report in the Data Clinic cloud app.
attention
The following tutorial describes a happy path based on a common use case. Depending on your particular business requirements, the steps may be different and/or need to be customized.
Prerequisites
Login
Log into the CDQ Cloud Apps
Authorization
If you have no access to the CDQ Cloud App, ask your internal point of contact to create a CDQ dedicated account. Account detail will be sent by email.
Data Mirror
For tutorial purposes, theCDQ Demo Workspace with the dedicated data mirror will be used. Use your organization
workspace to recreate the happy path.
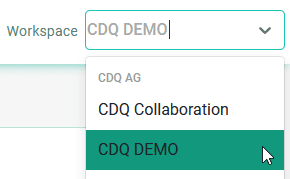
|
| List of available workspaces |
info
CDQ_DEMO Data Mirror, use your own. Get more information about Data Mirror Setup and
Synchronization here.Step1: Augmetation Configurator
Create a configuration for the Data Quality Rules Engine used for monitoring:
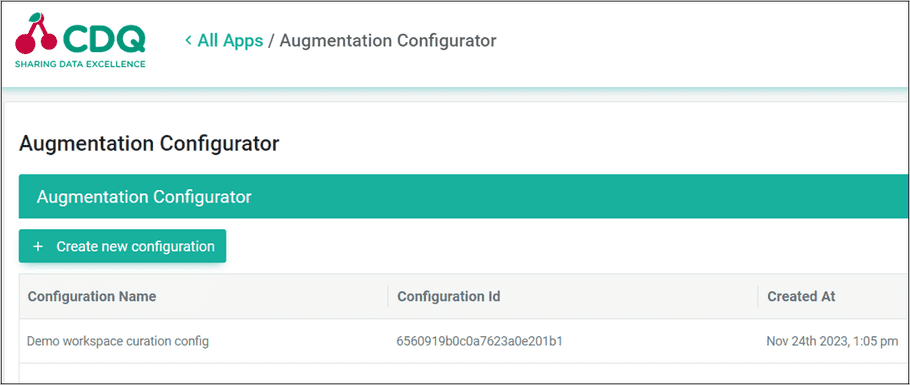
- Go to the Augmentation Configurator cloud app,
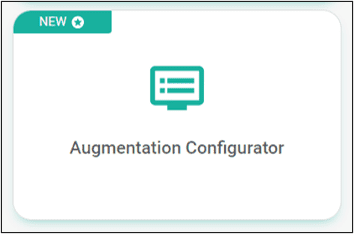
- Create a new configuration:
- Click the Create new configuration button,
- Name the new configuration,
- Click the Create button,
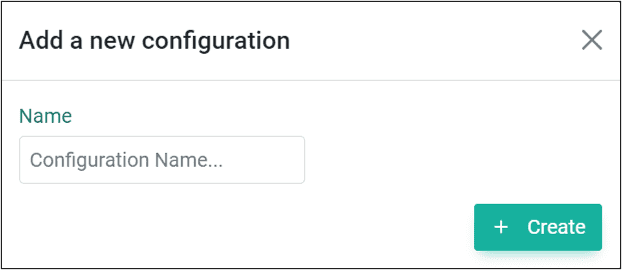
- Check the Augmentation Configurator table below. Each configuration is assigned a unique number,
- Select the newly created configuration for the edition,
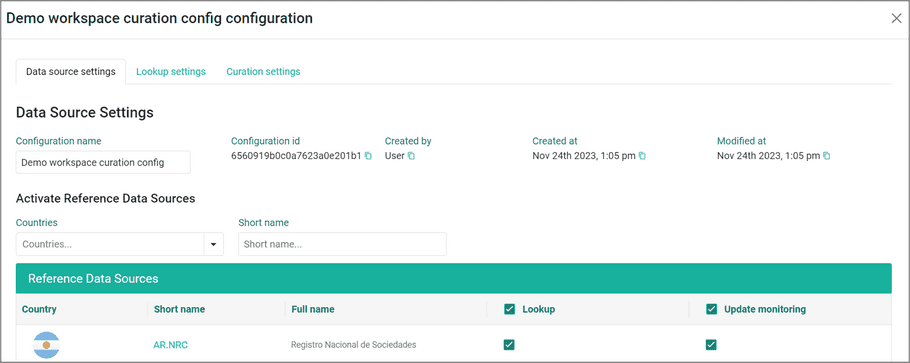
- Scroll down to activate Reference Data Sources,
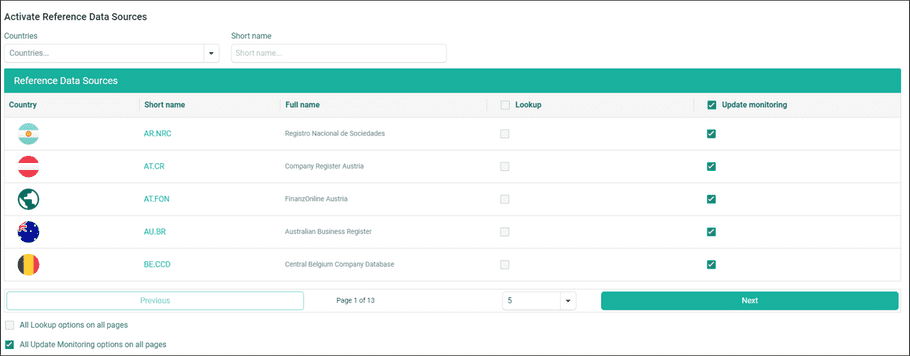
- Choose data sources for the Lookup to specify which sources should be used for augmentation:
- Use the Update monitoring checkbox from the table header to choose all data sources displayed on the page,
- Use the All Update Monitoring options on all pages checkbox below the table to choose all available data sources,
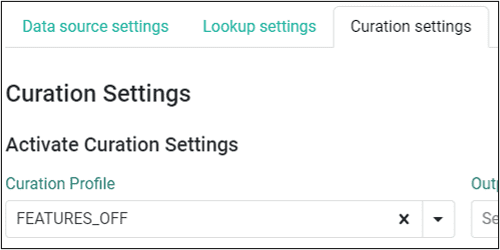
- Go to the Curation settings tab,
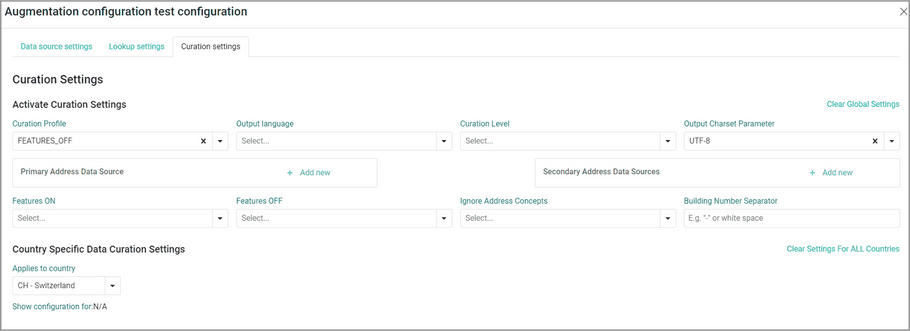
- If configuration was created only for an update montoring set:
- Curation Profile:
FEATURE_OFF
info
To read more about profiles visit this wiki page.
- Click the Save configuration button.

Step 2: Augmetation Monitor
Create an Augmentation Monitor and activate it using the previously created configuration:
- Go to the Data Clinic cloud app,
- Click on the Add New Data Monitor button,
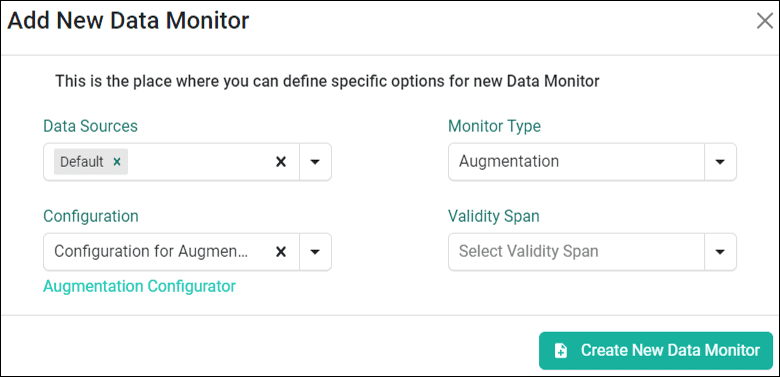
- Configure the new monitor:
- Select Data Sources for which the monitor should be turned on,
- Select Augmentation for the Monitor Type,
- Select the newly created augmentation configuration,
- Click the Create New Data Monitor button to save,
Step 3: Check the subscription
The subscription mechanism enables the selection of Business Partners to be monitored for updates. The linkage between Business Partners from the mirror and reference data sources is established using identifiers based on the linkage strategy.
warning
Without these identifiers, creating a connection and initiating monitoring is not possible.
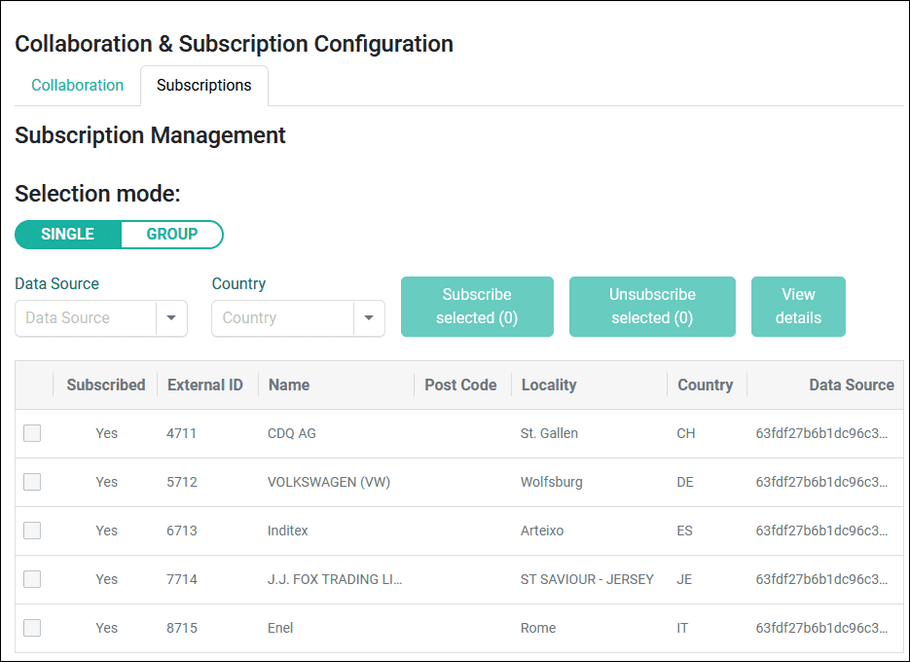
- Browse the subscriptions:
- Go to the Collaboration & Subscription Configuration app,
- Select the Subscriptions tab and set filter options,
info
All Business Partners are selected for subscription by default.
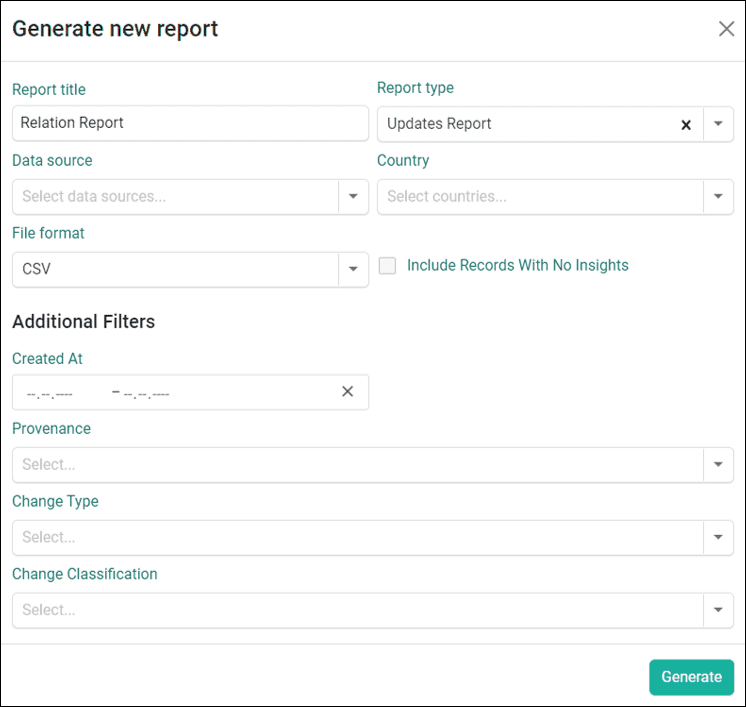
- Go to the Data Clinic App and click the Generate new report button,

info
xlsx report.- Configure the report:
- Provide the report title,
- Select the Subscriptions Report for a report type,
- Select a data sources (the same as for Data Monitor),
- Select countries (optional),
- Choose a file format,
- Click the Generate button to start the job with the report creation.
- Wait until the job is finished,

- Download the report,

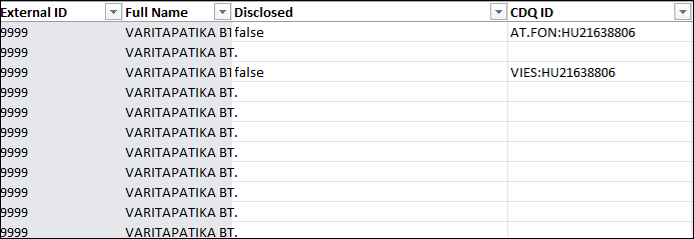
- Review your report:
- If a CDQ ID is present in the raw data for a specific data source, it indicates that the linkage has been created,
- If certain business partners do not have any linkage, it is worthwhile to enhance identifiers based on the augmentation of lookup results.
success
The subscription report was generated successfully.
Step 4: Read updates
To read relation updates:
- Go to the Business Partner Update Browser app,
- Use the New Model tab,
- In the Updates tab set filter parameters:
- Data Source:
CDQ_DEMO - Set the date:
4h Aug. 2024
- Data Source:
ALIGN PARAMETERS
CDQ_DEMO data source. Set parameters align with the available
data set.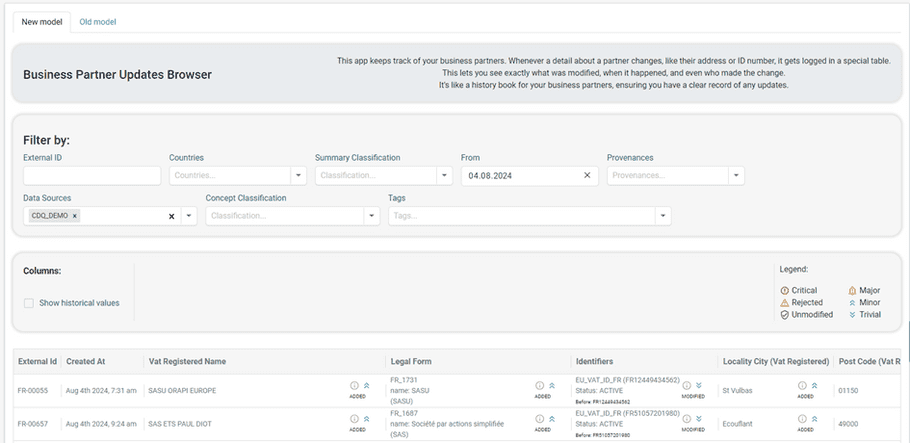
There are two types of classification filters:
summaryClassification: This filter provides Business Partners with a summary classification, which is determined by the highest classificationlevel among all Business Partner concepts.conceptClassification: This filter indicates the classification of a Business Partner's specific concept (e.g., name, street, legal form).
conceptClassification works in pairs and identifies Business Partners where, for example, the LOCAL_NAME
was MODIFIED and this change was classified as MAJOR. When filtering by tag and summaryClassification, the endpoint
returns all Business Partners where the specified tags were added to the summary and the general summary classification is,
for example, IDENTIFIER_ADDED, + the highest classification for all updates =MINOR. Additional filtering options include
country, provenance, and external IDsThe returned list contains full Business Partner from the specific reference data source (VIES, CH_UIDR, FR_RC, etc.)
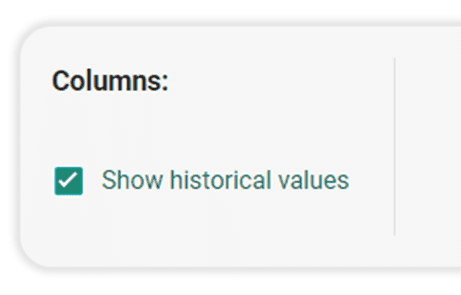
in comparison to Business Partners from the mirror.By default, only the latest version of the BP is presented. To see all versions of the BP available in the last 3 months, mark the checkbox:
Click to use Old Model, previous version of the app.
To read relation updates:- Go to the Business Partner Update Browser app,
- Click on the Old Model tab
- In the Updates tab set filter parameters:Concepts:
Business Partner Relation
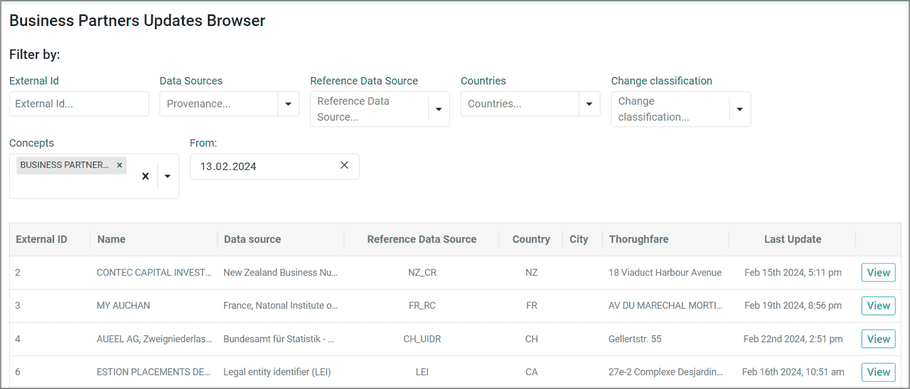
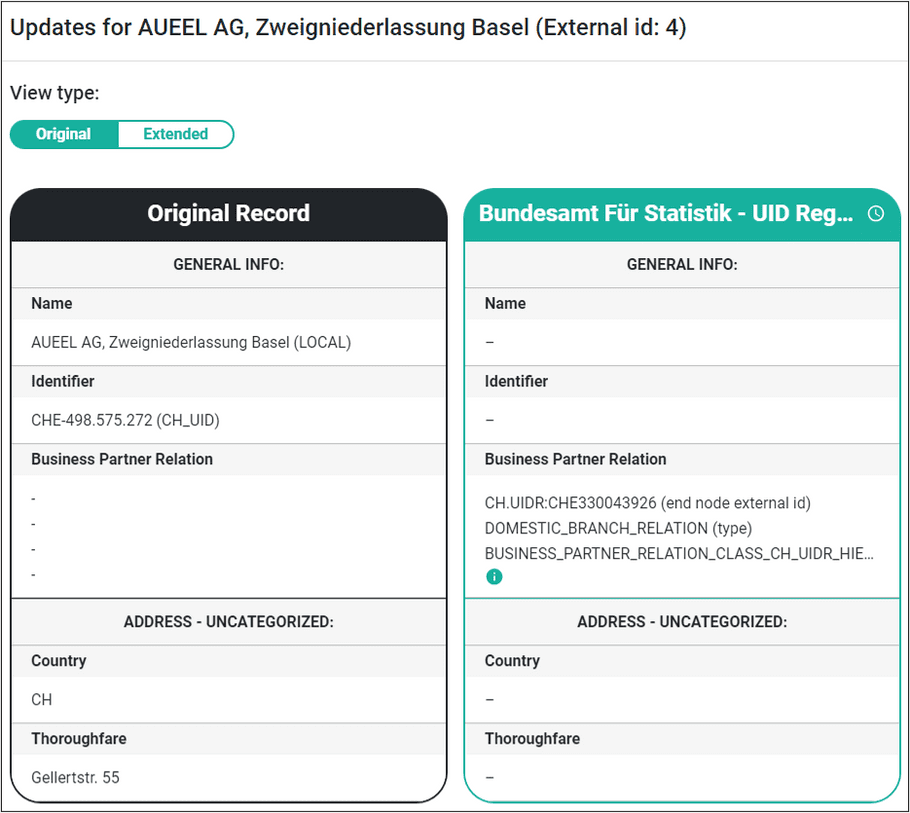
- Select View to see details of updates for the selected Business Partner.
Your opinion matters!
We are constantly working on providing an outstanding user experience with our products. Please share your opinion about this tutorial!
Mail our developer-portal team: developer-portal@cdq.com