Use Case
This use case describes the recommended use of CDQ Cloud Services for generating reports in Data Clinic cloud app.
Learning Goals
In this tutorial, the user will focus on the following:
- Activating data sources that can be searched
- Creating a configuration for the Augmentation Monitor
- Creating the Augmentation Monitor
- Creating a configuration for the Data Quality Profiling Monitor
- Creating the Data Quality Profiling (Validation) Monitor
- Generating reports in the Data Clinic app
This tutorial is based on local data and specific naming. The presented results will be different from yours.
To set up the Augmentation Monitoring, you have to log in to the CDQ Cloud Apps.
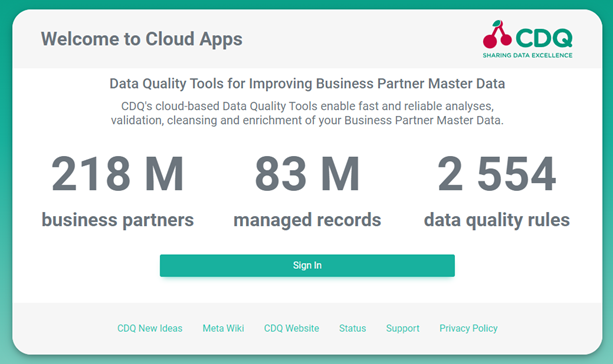
Click on Sign In and enter your username and password.
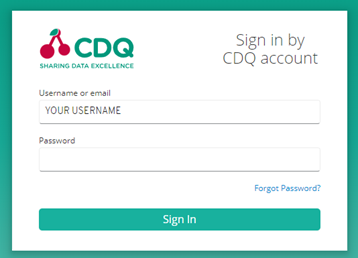
CDQ is integrated with a variety of data sources, ranging from business and tax registers to commercial data providers such as D&B or Moody's. For a comprehensive list of all available data sources, please refer to a list of Data Sources.
Before these data sources can be used in CDQ products, they must be explicitly activated. This activation is a one-time process for the entire organization, and once completed, the activated data sources can be used across all workspaces.
- Navigate to the Global Settings,
Here is a list of all supported data sources. You can filter the data sources by country of origin, name, and activation status.
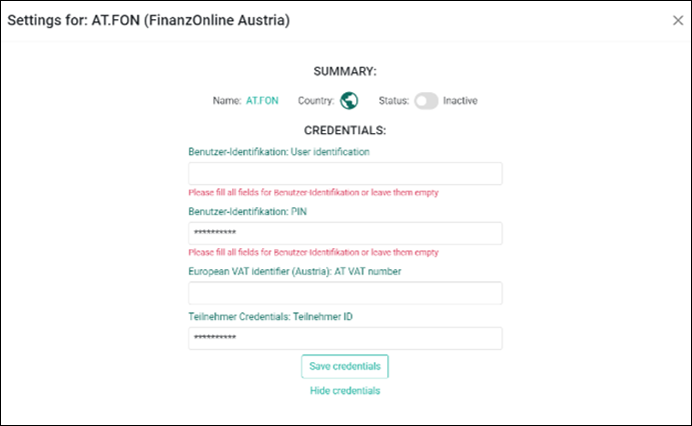
- Click on the Settings icon activated required data source,

Some data sources may require authentication. Depending on the authentication mechanisms of the data source, you will need to enter your credentials, tokens, or API keys.
- Modify the settings:
- Provide the necessary credentials (if needed),
- Activate a data source using the activation toggle,
- Click the Save credentials button,
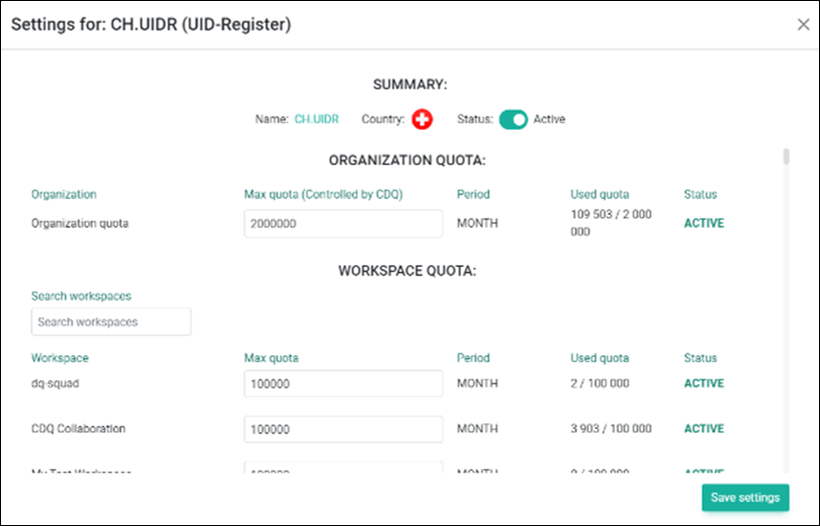
Data sources are not unlimited and are subject to quotas. The organization level quota can be controlled by CDQ or your organization itself (if you authenticate with your credentials, e.g., D&B).
Additionally, quotas can be assigned to each workspace. This helps to regulate the use of data sources and prevents unintentional and expensive downloads of data from commercial providers such as D&B.
The Business Partners monitoring required setting up a configuration:
- Sellect Augmentation Configurator cloud app,
- Click the Create new configuration button:
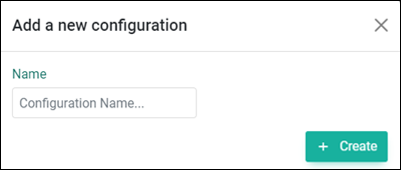
- Name the new configuration,
- Click the Create button,
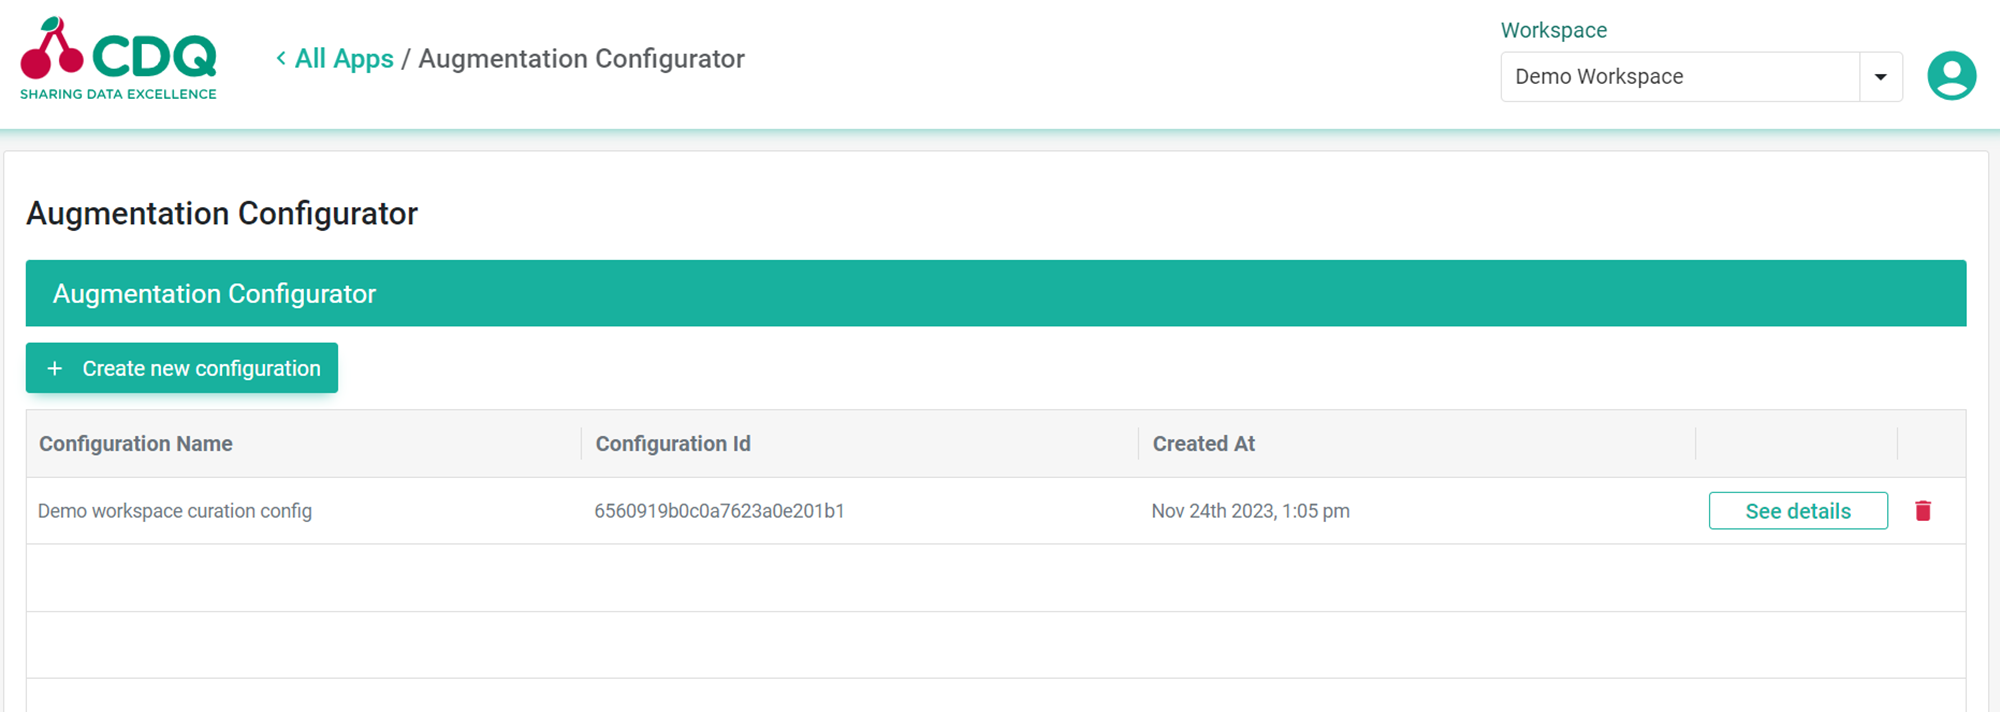
- Check the Augmentation Configurator table if every configuration has a unique number assigned
- Select the newly created configuration for the edition,
Note that you can only select data sources that you have activated globally for your organization. See Step 2.
 7. Scroll down to activate Reference Data Sources section,
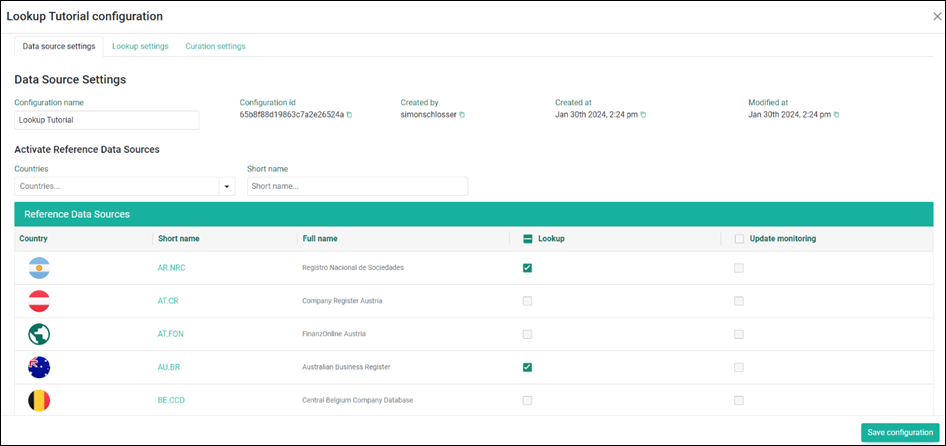
- Select data sources for Lookup to define which sources should be used for augmentation,
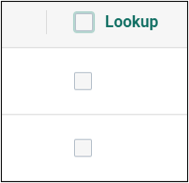
- Use the Lookup checkbox to choose all data sources displayed on the page

- Use All Lookup options on all pages checkbox to choose all available data sources (all pages)
Using these checkboxes can activate commercial (paid) data sources. Make sure only required data sources are activated.
- Go to the Curation settings tab
- Choose reuired profile based on the table below for Curation Profile.

- Click the "Save configuration" button
A list of all curation profiles and features is described here: Curation API profiles
| Report Name | Report Description | Monitor type | Requirements |
|---|---|---|---|
| Data Defects | The report outlines all errors found within the dataset, presented line by line with brief violation messages, helping businesses identify critical issues in Business Partner Data. | Data Quality Profiling | Global settings: Activated Reference Data Sources. Validation configuration: Choose EU_VAT_QUALIFICATION or WORDLWIDE_IDENTIFIER_QUALIFICATION - or add to STANDARD profile qualification feature. Monitor turned on |
| Defective Records | The report provides Business Partners with their validation status and the number of rules violated per each record. | Data Quality Profiling | Global settings: Activated Reference Data Sources. Validation configuration: Default or custom rules for required countries. Profile: STANDARD/ADDRESS. Monitor turned on |
| Identifier Qualification | For a given Business Partner, the qualification is made for name, address, and identifier, whether they are really associated with this identifier. | Data Quality Profiling | Global settings: Activated Reference Data Sources. Validation configuration: Choose EU_VAT_QUALIFICATION or WORDLWIDE_IDENTIFIER_QUALIFICATION - or add to STANDARD profile qualification feature. Monitor turned on |
| Identifier Qualification Per Decision | For a given Business Partners attribute, the company's name and address are checked, whether they are really associated with this identifier. | Data Quality Profiling | Global settings: Activated Reference Data Sources. Validation configuration: Choose EU_VAT_QUALIFICATION or WORDLWIDE_IDENTIFIER_QUALIFICATION - or add to STANDARD profile qualification feature. Monitor turned on |
| Update Report | The report outlines all individual updates for a given Business Partners attribute made according to changes in the reference source. | Augmentation | Global Settings: Activated Reference Data Sources. Augmentation configuration: Activated Reference Data Sources for update monitoring, Business Partner from mirror subscribed. Monitor turned on |
| Natural Person Screening | For a given Business Partner in-depth analysis of natural person screening is made as well as politically exposed person identification results. | Augmentation | Global Settings: Activated Reference Data Sources. Augmentation configuration: Activated Reference Data Sources for lookup. Curation Profile: NATURAL_PERSON_SCREENING or added FeatureOn: Enrich Categories. Monitor turned on |
| Address Curation | Report that offers insights into the results of address cleansing activities (standardization, enrichment, cleansing, translation, and geo-coding of addresses). | Augmentation | Global Settings: Activated Reference Data Sources. Augmentation configuration: Activated Reference Data Sources for lookup. Curation Profile: Address_Only or added Curation featuresOn from this list. Monitor turned on |
| Legal Entity | Report that provides full information about BP found in reference data sources inc. status, registered name, legal form, legal address, and tax identifiers. | Augmentation | Global Settings: Activated Reference Data Sources. Augmentation configuration: Activated Reference Data Sources for lookup. Curation Profile: Business Partner Only or added Curation featuresOn from this list. Monitor turned on |
| Data Mirror Dump | Provide simplified information about Business Partners in the mirror + raw record. | Not required | Business Partner uploaded and correctly mapped in the Data Mirror. |
| Subscription Report | Return information if Business Partners were linked with reference data sources. | Augmentation | Global Settings: Activated Reference Data Sources. Augmentation configuration: Activated Reference Data Sources for updates monitoring. Monitor turned on |
| Overlap Report | Provides a list of 10 first lookup results for each Business Partner based on input data. | Augmentation | Global Settings: Activated Reference Data Sources. Augmentation configuration: Activated Reference Data Sources for lookup. Curation featuresOn: PERSIST_LOOKUP_RESULTS, suggested. Curation Profile: Golden Record or Standard. Monitor turned on |
Create an Augmentation Monitor and activate it using the previously created configuration:
- Go to the Data Clinic cloud app,
- Click the Add New Data Monitor button,
- Configure new monitor:
- Select Data Sources for which the monitor should be turned on,
- Select Augmentation for Monitor Type,
- Choose just created augmentation configuration,
- Select Validity span (optional),
Thanks to Validity Span setup, the Business Process will be refreshed if no reevaluation trigger occurs within the selected period.
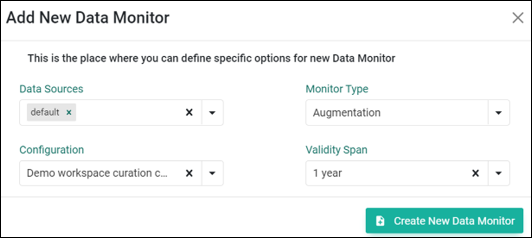
- Click Create New Data Monitor button to save
- Wait until the job for the new monitor is finished

Create a configuration for the Data Quality Rules Engine used for monitoring:
- Select Data Validation Configurator cloud app,
- Select the Create button,
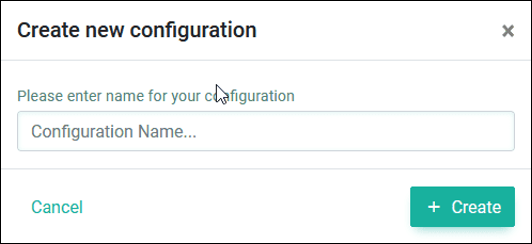
- Create new configuration:
- Provide a name for the configuration,
- Click the Create button,
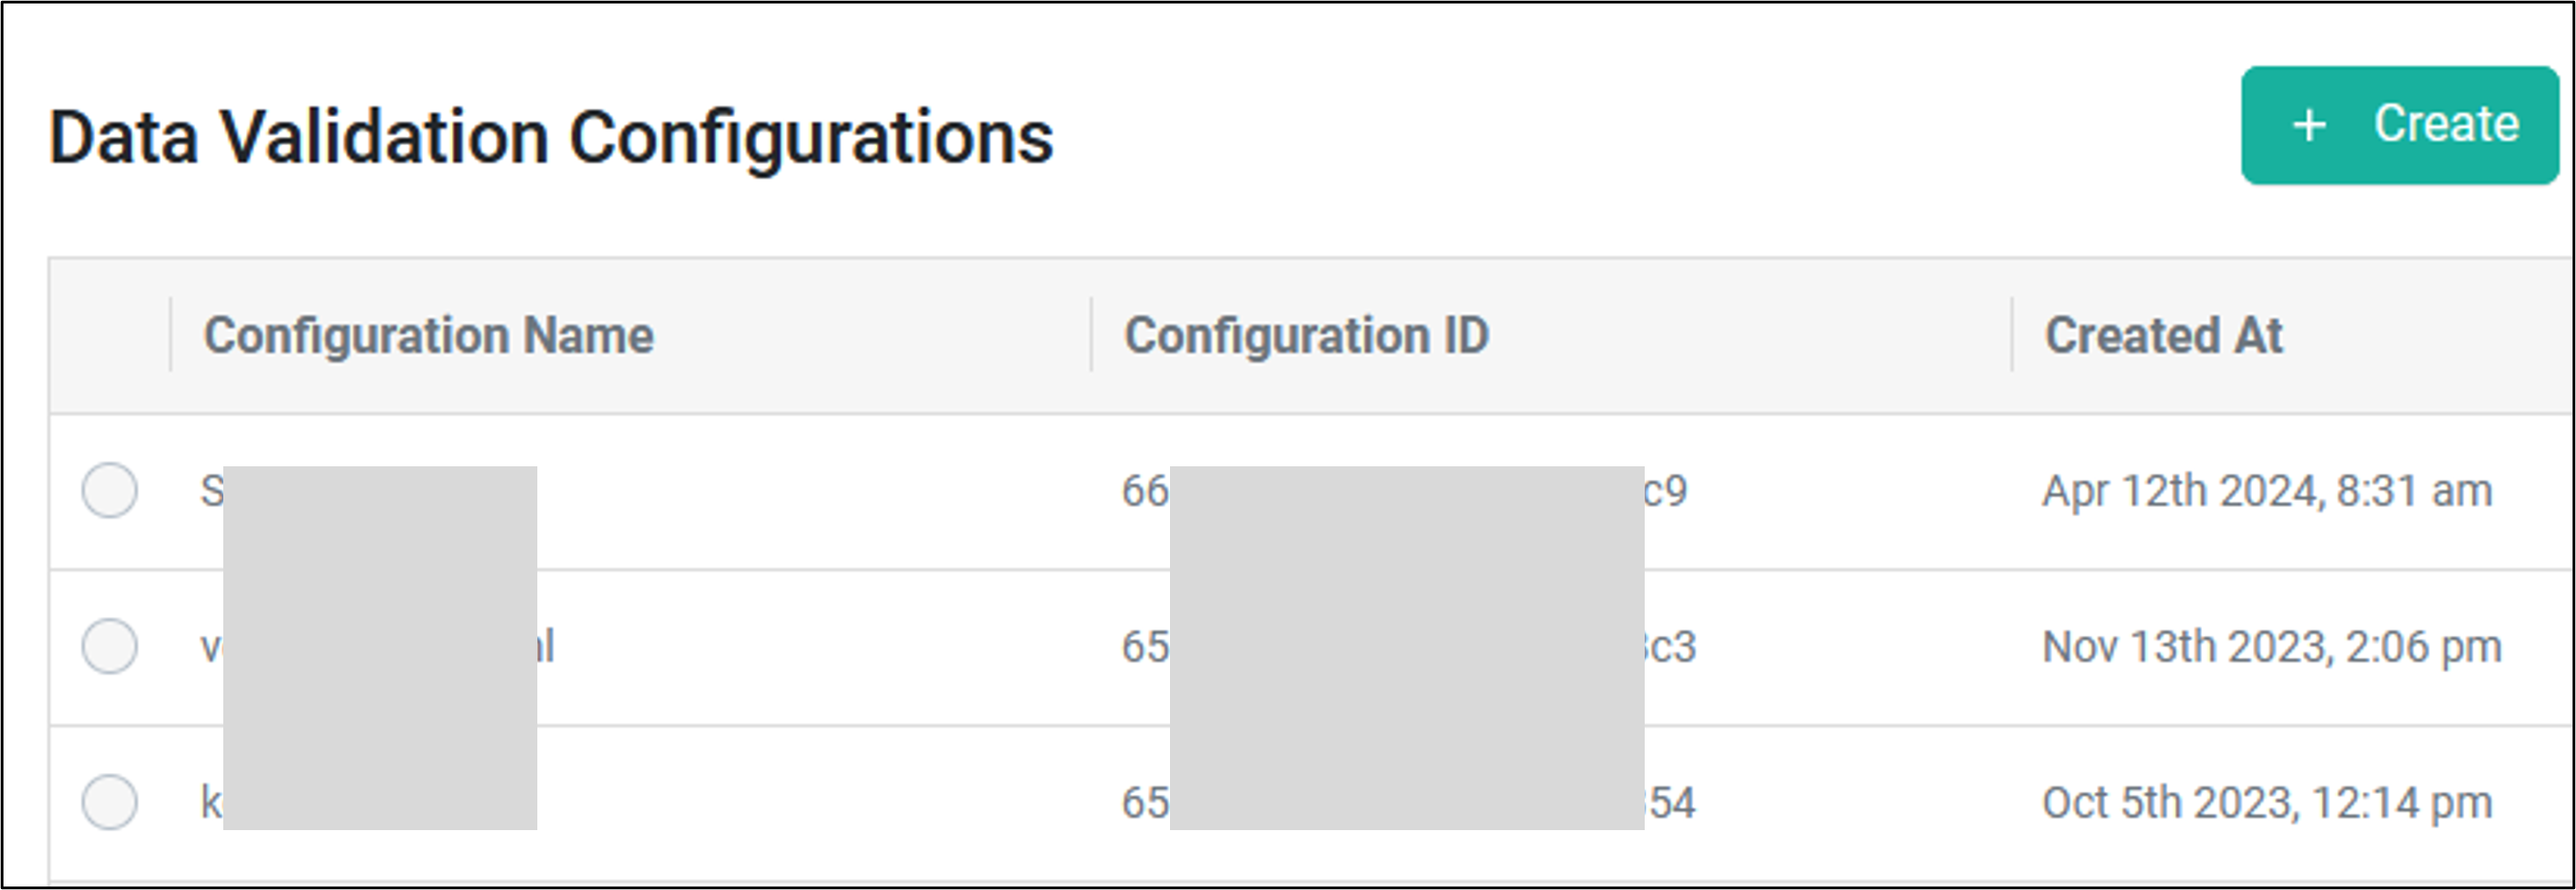
- Check the Data Validation Configuration table below,
Each configuration has a unique number assigned.
- Select the newly created configuration for an edition and scroll down,

- Edit the parameters in the "Details of Standard configuration" section:
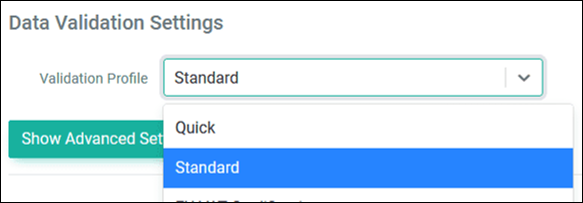
- Select Validation Profile from the list based on report requirements,
- Set the Rule Status to
Release,
- Use "Data Quality Rules" section to limit the validation results (optional):
- Select the country,
- Set the Rule Status to
Release,


It's possible to modify the criticality of selected rules, customize violation messages, or disable rule execution.

- Click the "Save changes" button.
Create a Data Quality Profiling Monitor and activate it using the configuration that was previously created:
- Go to the Data Clinic cloud app

- Click the Add New Data Monitor button
- Configure new monitor
- Select Data Sources for which the monitor should be turned On
- Select
Data Quality Profilingfor Monitor Type - Choose just created validation configuration
- Select Validity span (optional)
Thanks to Validity Span setup, the Business Process will be refreshed if no reevaluation trigger occurs within the selected period.
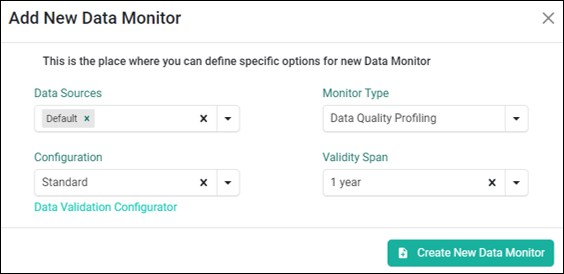
- Click Create New Data Monitor button to save
- Wait until the job for the new monitor is finished

- To generate the report, go to the Reports tab of the Data Clinic cloud app,
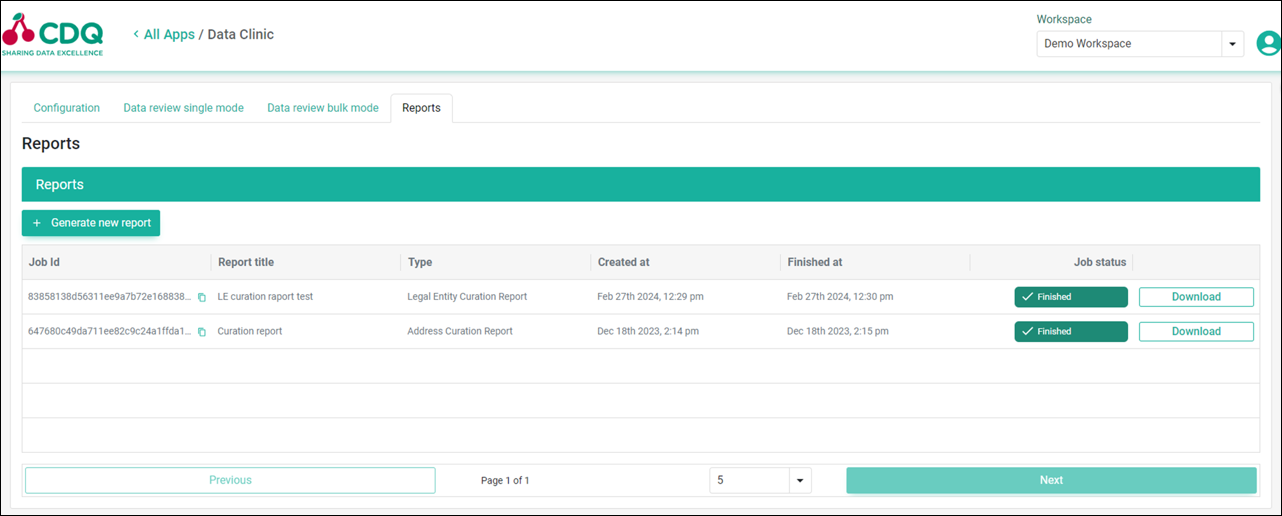
- Click the Generate new report button,
- Configure the report:
- Provide Report title,
- Choose Natural Person Screening Report for a report type,
- Select data sources (the same as for Data Monitor in case of reports based on Data Quality Profiling or Augmentation Monitors),
- Create a report only for specific countries, if needed,
- Choose a file format (optional)
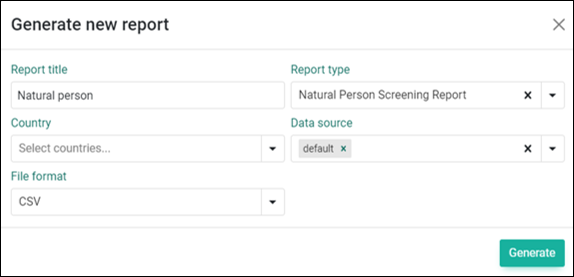
- Click the „Generate” button to start a job with the report creation
- Wait until the job is finished

- Download the report;

- Open the report to see the results:
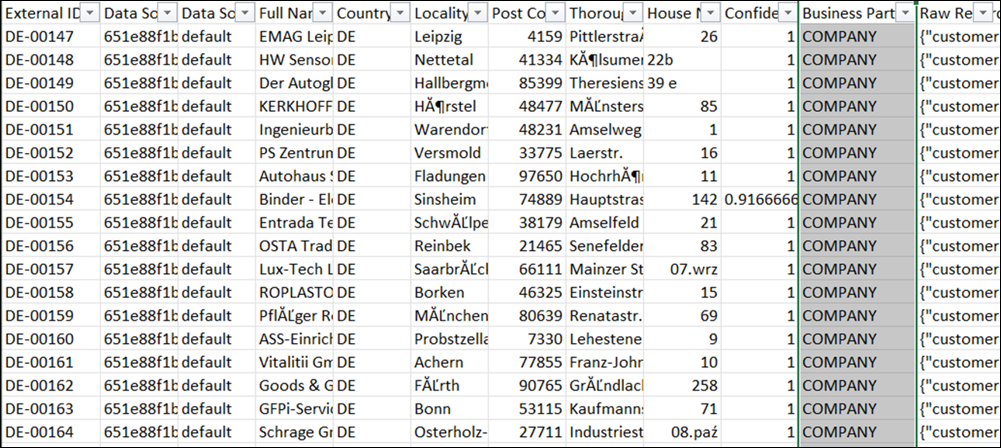
You have generated the Data Quality report.
We are constantly working on providing an outstanding user experience with our products. Please share your opinion about this tutorial!