Use Case
This use case describes the recommended use of CDQ Cloud Services for establishing continuous augmentation monitoring for Business Partner data.
Learning Goals
In this tutorial, the user will be focused on:
- Creating augmentation configuration using Augmentation Configurator cloud app.
- Creating data monitor based on prepared configuration using Data Clinic cloud app.
- Analysing augmented data with Data review single mode cloud app.
This tutorial is based on local data and specific naming. The presented results will be different from yours.
CDQ Cloud Services Access
If you have no access to the CDQ Cloud App, ask your internal point of contact to create a CDQ dedicated account. Account details will be sent by email.
Data Mirror
To proceed with this tutorial the Data Mirror is needed. Go to this page to get more information.
To set up and test the CDQ AML Guard, you have to log in to the CDQ Cloud Apps.
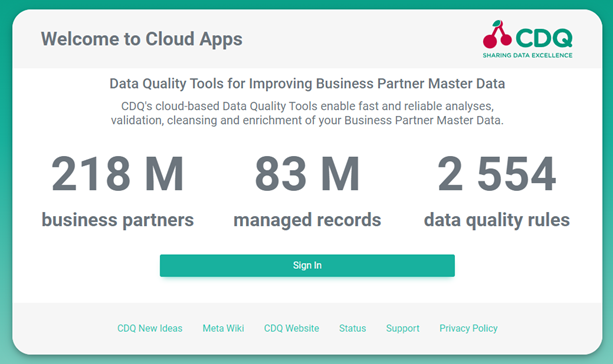
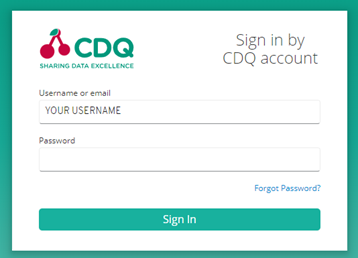
Click on Sign In and enter your username and password.
CDQ is integrated with a variety of data sources, ranging from business and tax registers to commercial data providers such as D&B or Moody's. For a comprehensive list of all available data sources, please refer to a list of Data Sources.
Before these data sources can be used in CDQ products like the CDQ Lookup, they must be explicitly activated. This activation is a one-time process for the entire organization, and once completed, the activated data sources can be used across all workspaces.
To activate data sources:
- Navigate to the Global Settings app.
- Scroll down to the Reference Data Source Management section.
- Filter the results by typing the name of the data source you wish to activate in the Short name field.
- Additionally, filter by the country of origin or activation status, if necessary.
- Click the Settings button of the required data source to activate it.
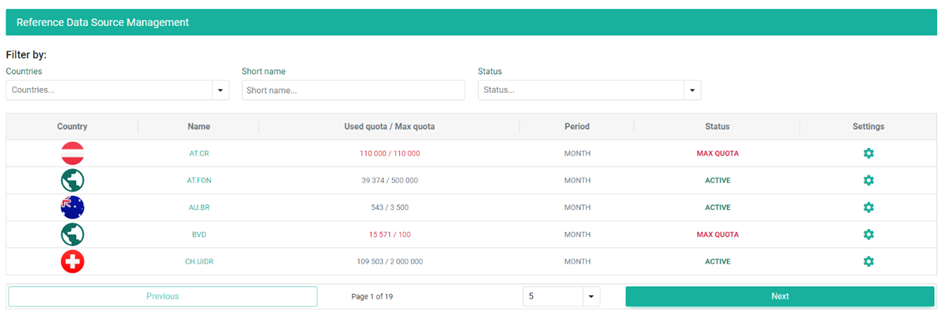
Please note that some data sources require authentication.
- Enter required credentials, tokens, or API keys in the data source's settings window.
- Set the status toggle to
Activeto activate the data source.
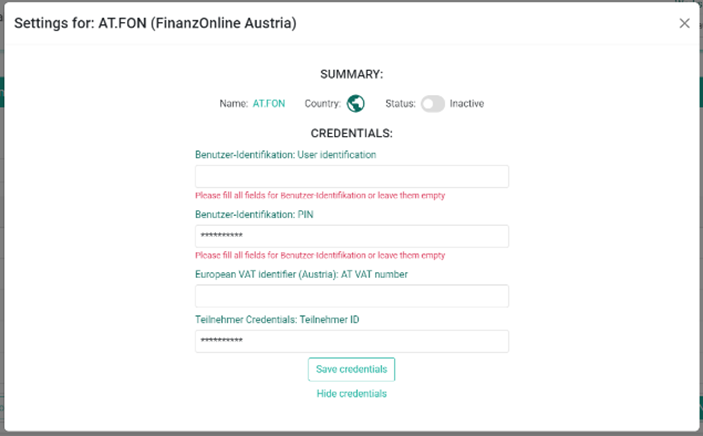
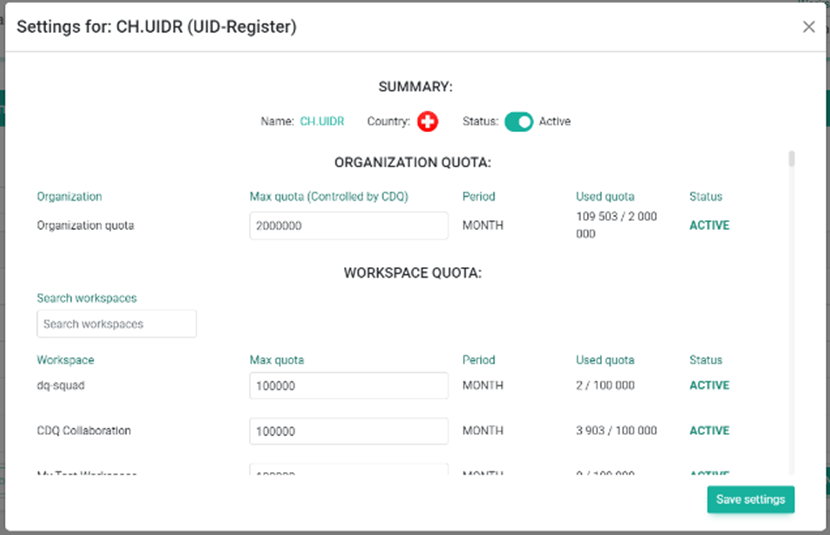
Data sources are subject to quotas. Unlimited usage is not possible.
- To limit the requests to data sources, set the organization quota according to enterprise needs.
- Set the quota for the workspace if needed.
- Click Save settings to apply the changes.
Create a configuration for the Data Quality Rules Engine used for monitoring:
To create a new configuration, follow these steps:
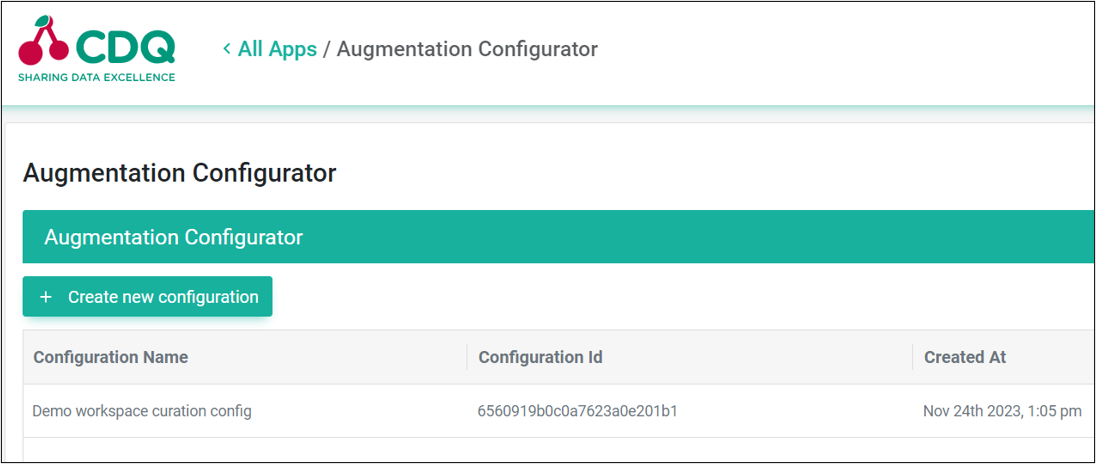
- Navigate to the Augmentation Configurator app.
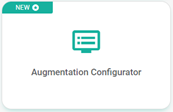
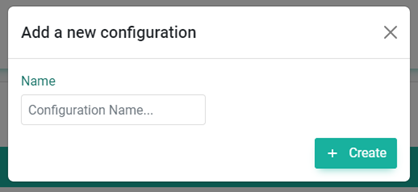
- Select Create new configuration button,

- Assign a distinctive name to your configuration,
- Click Create to save the configuration.
- Check the Augmentation Configurator table below. Each configuration is assigned a unique number,
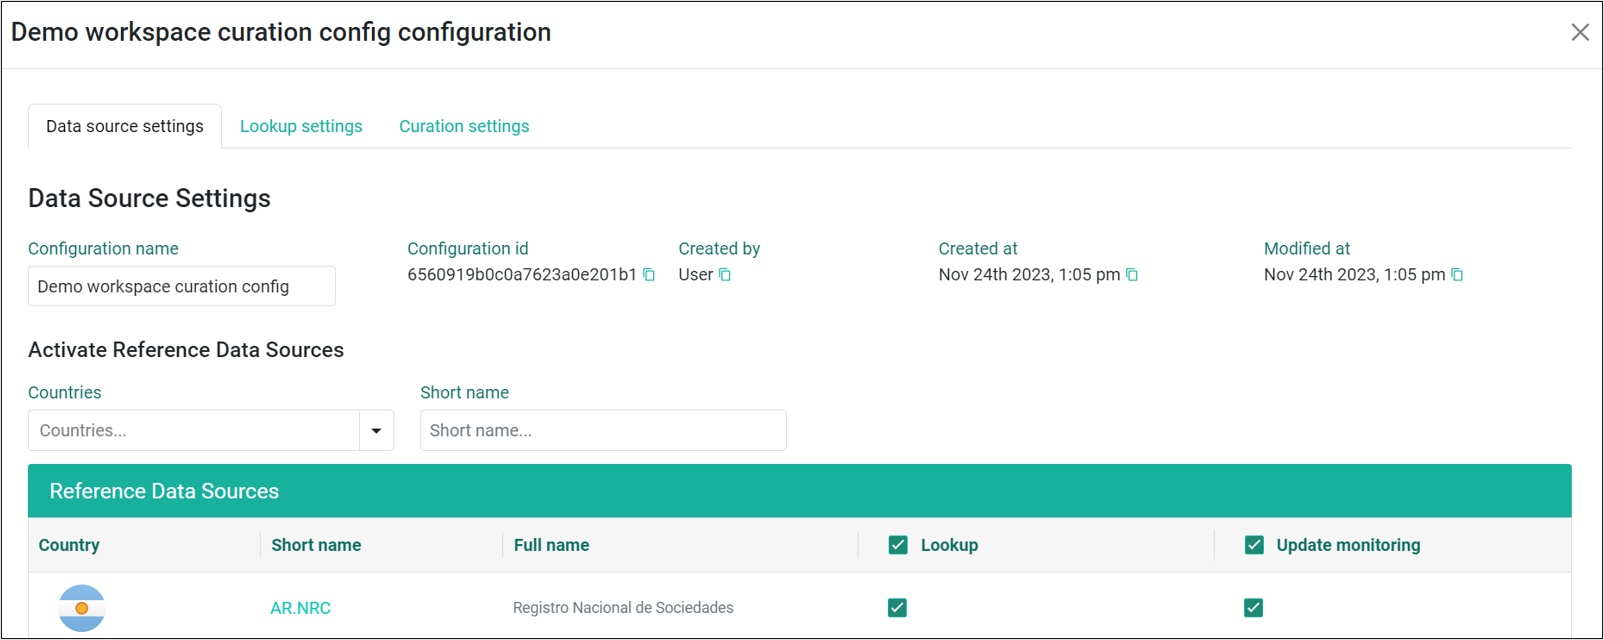
- Select the newly created configuration for the edition by clicking the See details button,
- Scroll down to activate Reference Data Sources,
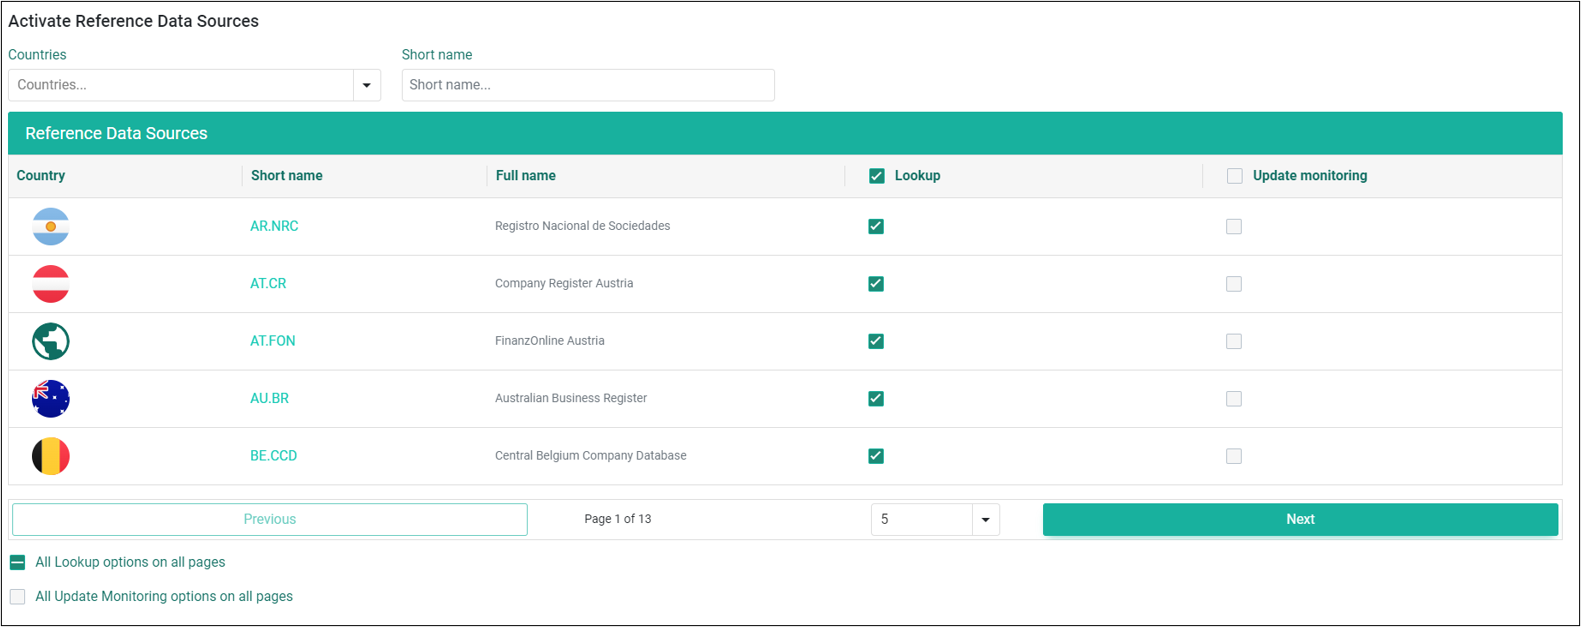
- Choose data sources for the Lookup to specify which sources should be used for augmentation:
- Use the Lookup checkbox from the table header to choose all data sources displayed on the page,
- Use the All Lookup options on all pages checkbox below the table to choose all available data sources,
- Go to the Curation settings tab,
- Set the
GOLDEN_RECORDas Curation Profile
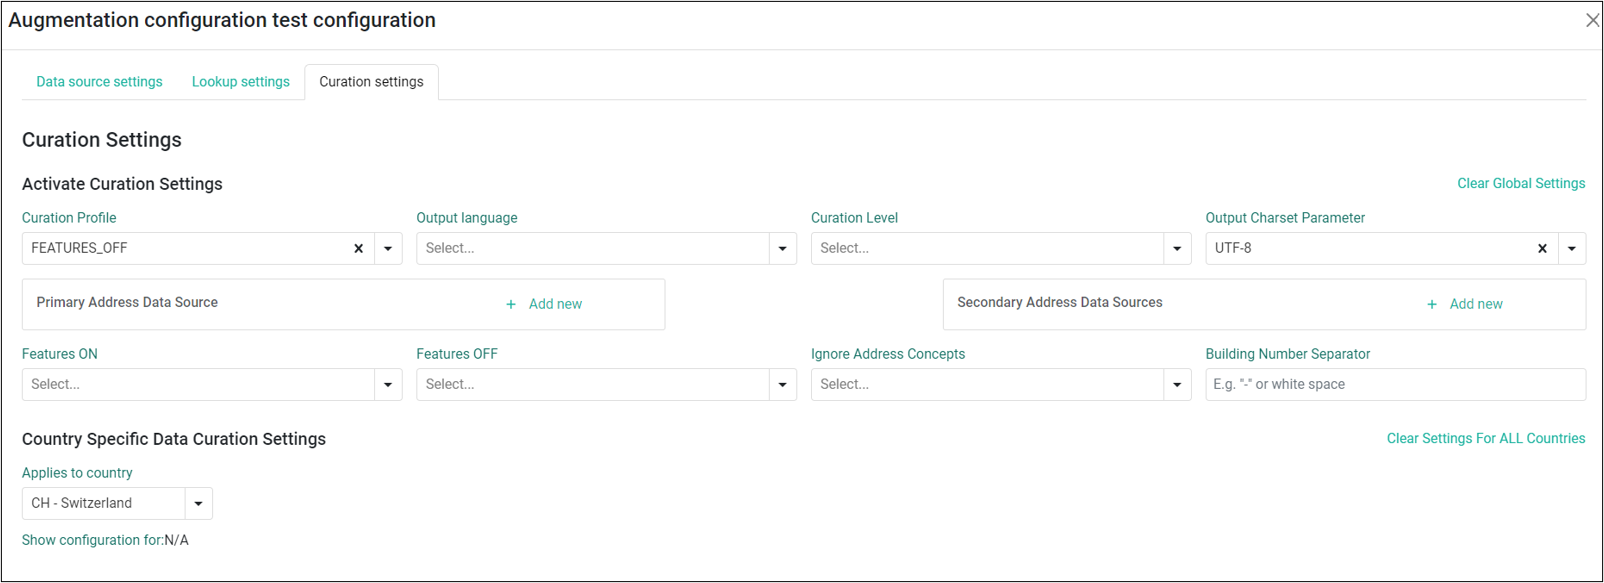
To read more about profiles visit this wiki page.
- Define different settings for specific country, if needed,

- Click the Save configuration button.

Create an Augmentation Monitor and activate it using the previously created configuration:
- Go to the Data Clinic cloud app,
- Click on the Add New Data Monitor button,
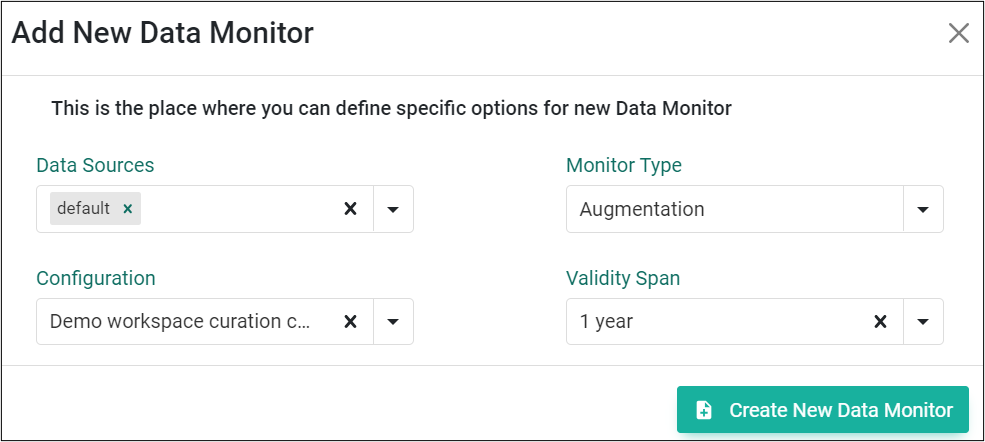
- Configure the new monitor:
- Select Data Sources for which the monitor should be turned on,
- Select Augmentation for the Monitor Type,
- Select the newly created augmentation configuration,
- Select Validity span (optional),
- Click the Create New Data Monitor button to save,
- Wait until the job for new monitor is finished,

- Go to the Data review single mode tab to see results of monitoring,
- Filter Business Partners with provided filters,
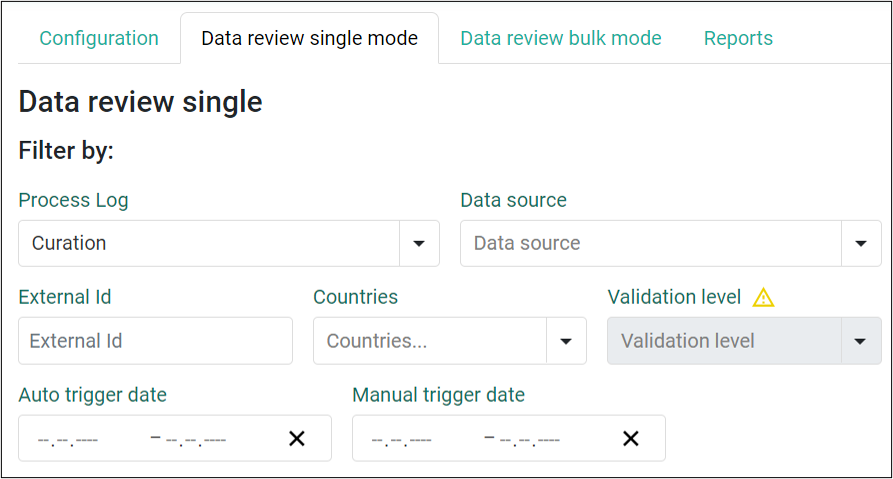
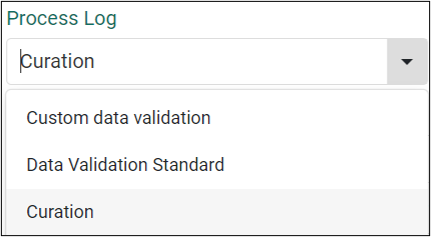
Results can be filtered based on the Processing Log as follows:
Curationresults are for the Augmentation Monitor.Custom Data Validationresults are for the Data Quality Profiling Monitor.Data Validation Standardresults are for Quality Gate if Business Partners are shared to theCDQ POOL,
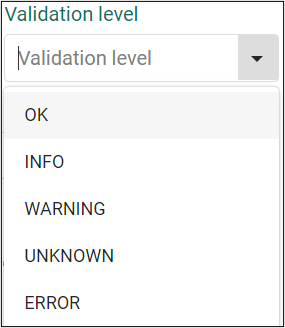
- Filter the list of Business Partners by Validation Level, if needed:
To use this filter, select Custom Data Validation or Data Validation Standard in the Processing Log dropdown list.
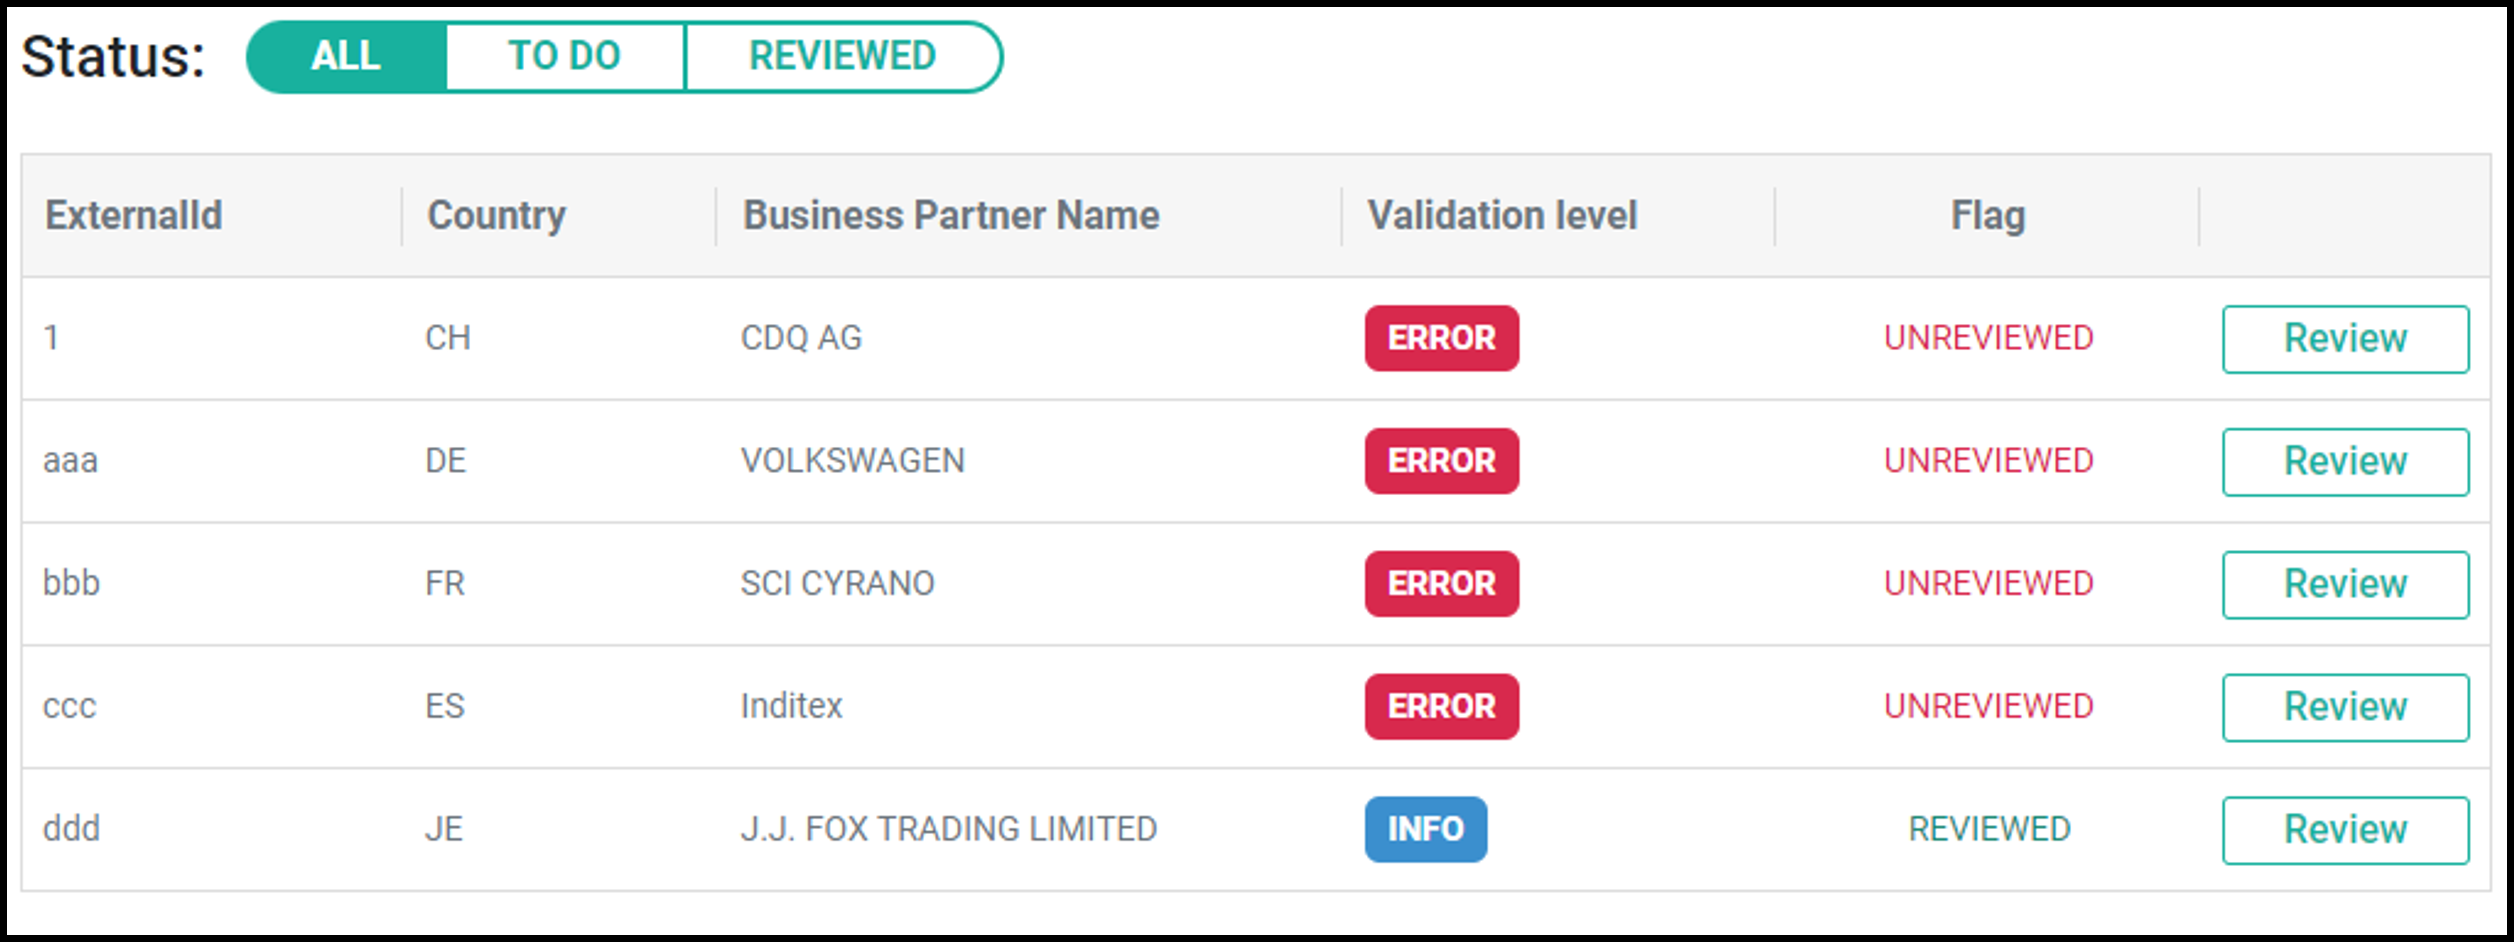
- Click on the Review button to see results of the augmentation for a single Business partner,
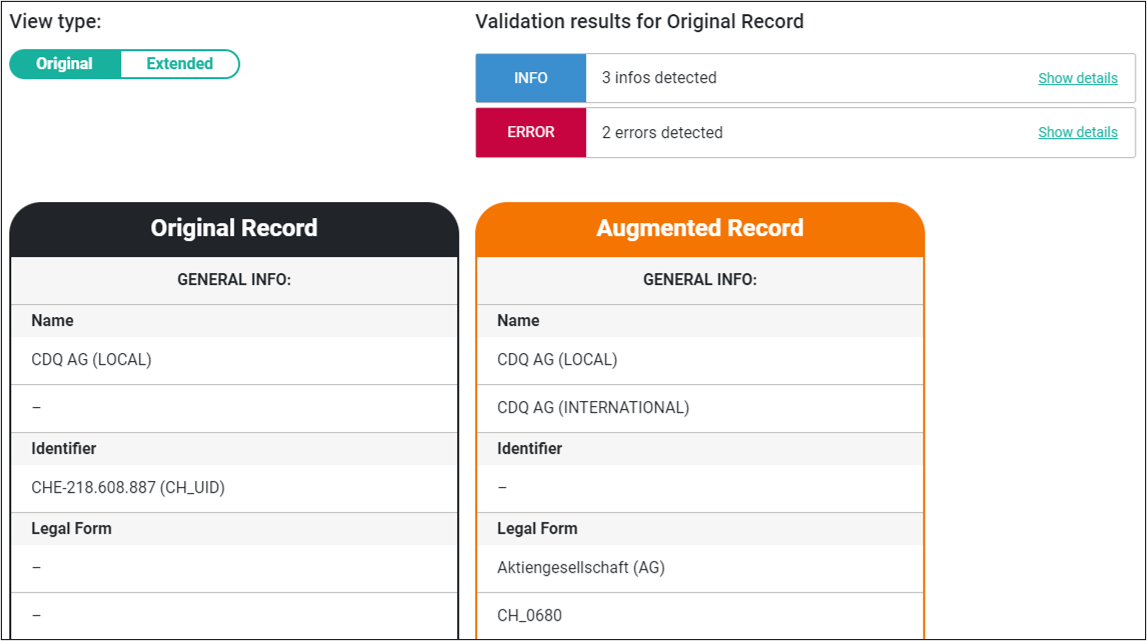
- Compare records from mirror with the augmentated Business Partner
Depending on the reason for the trigger, a few types of automatic triggers can be identified. If the Business Partner was reevaluated due to a manual job, we provide information about the date of the manual trigger. The auto-trigger types are as follows:
CREATED: The customer created Business Partner in the data mirror,UPDATED: The customer updated Business Partner (at least one concept was added, modified, or deleted),REFERENCE_DATA_SOURCE: Updates from reference data sources were detected for the Business Partner,BPREFRESHED: Business Partner was reevaluated due to an issue (process issue from the Validation process) or due to the validity span,
Monitored Business Partners are refreshed (provided a new version of the Augmented Business Partner) based on special automation rules:
General:
- A new update has been received from the reference data source.
- A new Business Partner has been added.
- If a customer makes changes to the Business Partner (addition, modification, or removal), and these changes are not mapped to the CDQ data model, there will be no impact.
- The Validity Span has been turned on. If the Business Partner has not been reevaluated within the selected period, the automation will reevaluate the Business Partner.
- The monitor was turned off and then turned on again. As a result, all Business Partners will be reevaluated. The customer can decide whether to proceed with the reevaluation.
Augmentation monitor:
- When assigning a new configuration to the monitor or making changes to the already assigned configuration, reevaluation will be executed only if confirmed by the customer.
- When comparing a new configuration with the old one, the following will be considered:
- Augmentation:
- Check the list of data sources. If there are any changes for lookup, reevaluation will be performed based on the country's scopes for the data source.
- Check for changes in the curation part. If the change is specific to certain countries (not global), reevaluation will only be performed for those countries.
- Augmentation:
- Updates will be made if there are new data sources. This includes creating linkages and finding updates.
Validation:
- When assigning a new configuration to the monitor or making changes within the already assigned configuration, reevaluation will be executed only if confirmed by the customer.
- Any changes in the configuration, if confirmed by the customer, will cause reevaluation for all Business Partners.
We are constantly working on providing an outstanding user experience with our products. Please share your opinion about this tutorial!