Use Case
The CDQ Business Partner Monitoring now includes monitoring of healthcare Professionals (HCP) and Healthcare Organizations (HCO). It allows you to monitor your Business Partners against the MEDREG and BETREG data sources. The monitoring is based on linking your Business Partners with the data from these sources. The monitoring is handy for companies in the healthcare sector, where it is crucial to have up-to-date information about healthcare professionals and organizations. The monitoring helps you keep your Business Partner's data up-to-date and comply with regulatory requirements.
Learning Goals
In this tutorial, the user will be focused on:
- Activating data sources that can be searched
- Applying required mapping changes
- Creating a configuration for the Monitoring
- Creating Augmentation Monitor
- Checking results in the Update Browser
- Generating HCP HCO Monitoring Report
Login
Log into the CDQ Cloud Apps
If you cannot access the CDQ Cloud App, ask your internal point of contact to create a CDQ dedicated account. Account details will be sent by email.
CDQ is connected to various data sources, from business and tax registers to commercial data providers such as D&B or Moody‘s. Data sources require explicit activation before they can be used in CDQ products, such as for monitoring the Business Partner. This is needed once for the complete organization. Activated data sources are then usable in any workspace.
For activating data sources:
- Navigate to the Global Settings,
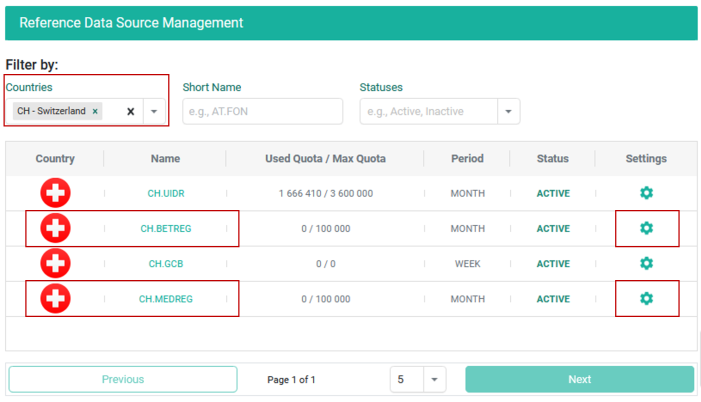
- Scroll down to the Reference Data Source Management section,
- Filter by country
CHor find by name:CH_MEDREGandCH_BETREG, - Open the settings for the data source,
- Use the Status toggle to "Activate" the data source.
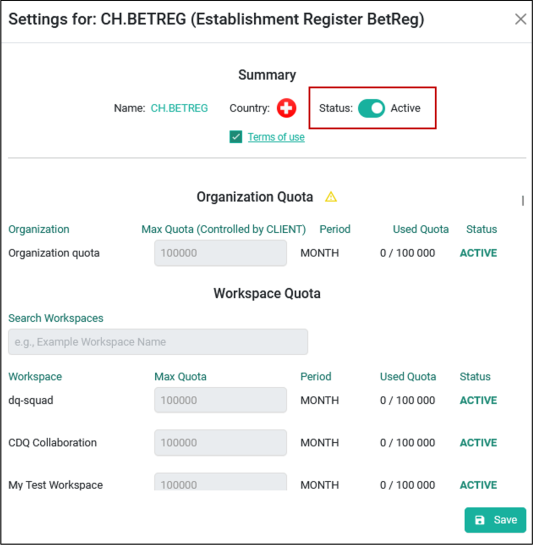
Data sources are subject to quotas. Unlimited usage is not possible. There is a quota on the organization level, which can be either controlled by CDQ or by your organization itself (in case of authenticating with your own credentials, e.g., D&B). Additionally, quotas can be assigned to each individual workspace. This allows for safeguarding the usage of data sources and prevents costly unintended downloads of data from commercial providers such as D&B.
To get updates from MEDREG and BETREG data sources, it's required to have the following concepts of Business Partners to make a linkage:
- MEDREG:
GS1_GLNidentifier,HEALTHCARE_PROFESSIONALcategory + post code - BETREG:
GS1_GLNidentifier,HEALTHCARE_ORGANIZATIONcategory
Create a mapping for the data source using a Create Data Mapper Definition endpoint or request a CSM support.
Based on the mapping provided, the system will be able to link Business Partners from the mirror with the data from MEDREG and BETREG data sources.
Map the identifier to the Global Location Number with the following example:
{
      "sourceAttributes": [
         "GLN"
      ],
      "targetAttributes": [
         "businessPartner.identifiers"
      ],
      "targetAttributeTypes": [
         "GS1_GLN"
      ]
}Map the category to the Business Partner categories directly via targetAttributeTypes and valueMapping:
{
      "sourceAttributes": [
         "Category"
      ],
      "targetAttributes": [
         "businessPartner.categories"
      ]
}The name from the MEDREG data source is mapped as a name of type "HEALTHCARE_PROFESSIONAL", so for comparison purposes, it's necessary to map our HCP BP name to this type.
{
      "sourceAttributes": [
         "Name"
      ],
      "targetAttributes": [
         "businessPartner.names[0].value"
      ],
      "targetAttributeTypes": [
         "HEALTHCARE_PROFESSIONAL"
      ]
}
BETREG returns names in the LOCAL and OTHER types, so changing mapping is usually unnecessary.
An HCP HCO Monitoring report provides a new option to mark Business Partners for deletion. You can use tags to show this option. Make sure your Data Mirror has tags upserting enabled.
To mark for deletion:
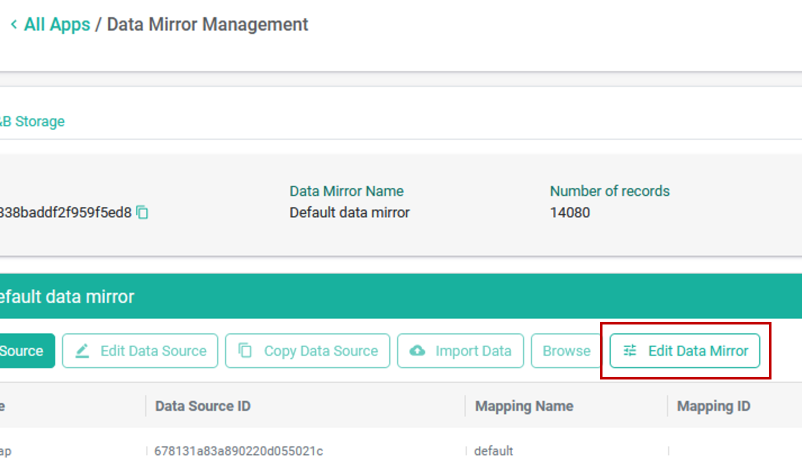
- Go to Data Mirror Management app,
- Click on Edit Data Mirror button,
- Select the checkbox Tags managed by upsert,
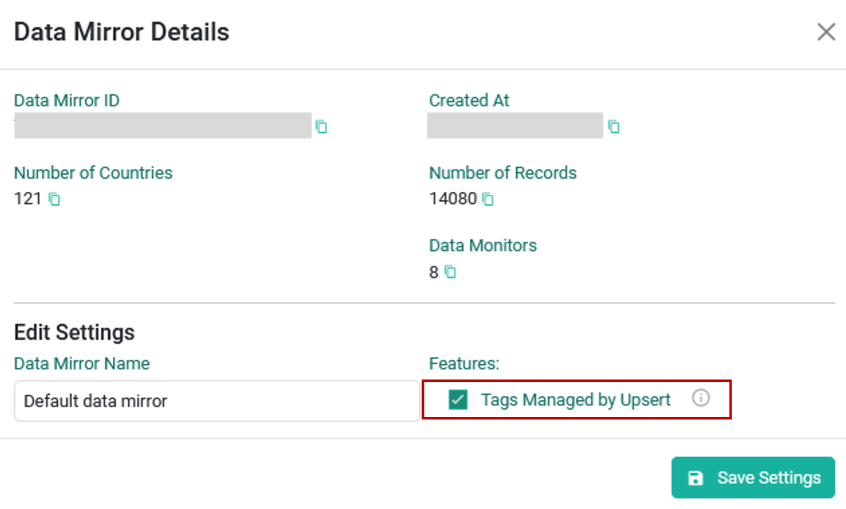
- click Save Settings button.
Tags will be added thanks to example mapping:
{
      "sourceAttributes": [
         "Delete"
      ],
      "targetAttributes": [
         "businessPartner.profile.tags[0].value"
      ],
      "targetAttributeTypes": [
         "MARKED_FOR_DELETION"
      ]
}In some cases, to map correctly Business Partners, it's required to provide valueMappings as in the below examples:
{
    "valueMappings": [
        {
            "sourceValue": "HP",
            "targetValue": "HEALTHCARE_PROFESSIONAL",
            "targetAttribute": "businessPartner.categories"
        },
        {
            "sourceValue": "HO",
            "targetValue": "HEALTHCARE_ORGANISATION",
            "targetAttribute": "businessPartner.categories"
        },
        {
            "sourceValue": "X",
            "targetValue": "True",
            "targetAttribute": "businessPartner.profile.tags[0].value"
        }
    ],
}The transformation is not needed for new data sources if a mapping containing the required elements is provided before Business Partners upload it.
If we change the mapping ID for the data source with HCP, HCO Business Partner apps will transform records automatically. Still, if we change elements in already assigned mapping, we must transform our BPs to have the required linkage elements. To do that, use the following CURL:
- Use the Start Transformation Job endpoint,
- Use the Transform HCP/HCO Business Partners example,
Use default if there is no example to choose.
- Provide your
dataSourceIdandstorageId, - Send the request.
The Business Partners monitoring required setting up a configuration.
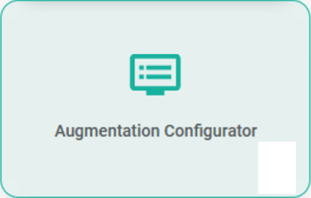
- Go to the Augmentation Configurator app,
Skip points 2 and 3 if you have already created a configuration for the monitoring.
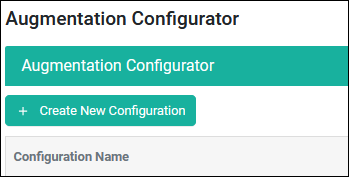
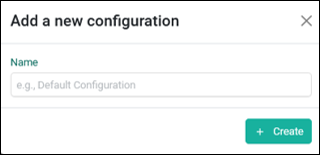
- Click on Create new configuration button,
- Provide a name and select Create button,
- Find the configuration in the list and click on See details button,

- In the Data Source Settings tab look for the Activate Reference Data Sources section,
- Provide CH for country filtration and select
CH.BETREGandCH.MEDREGfor update monitoring,
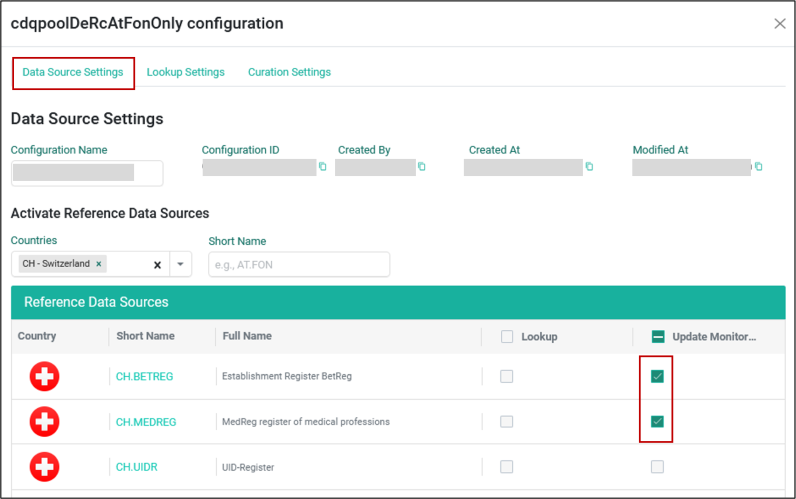
- Click the Save configuration button.
Create an Augmentation Monitor and activate it using the previously created configuration.
- Go to the Data Clinic app,
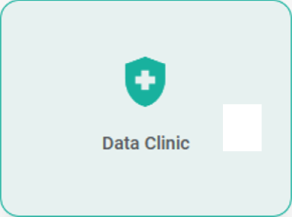
- Click on the Add New Data Monitor button,

- Select Augmentation for Monitor Type,
- Choose just created augmentation configuration,
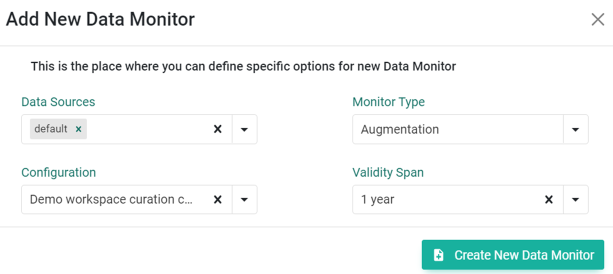
- Click the „Create New Data Monitor” button,
- Wait until the job for the new monitor is finished,

To read relation updates:
- Go to the Business Partner Update Browser app,
- In the Provenances fieldset:
CH_BETREGCH_MEDREG
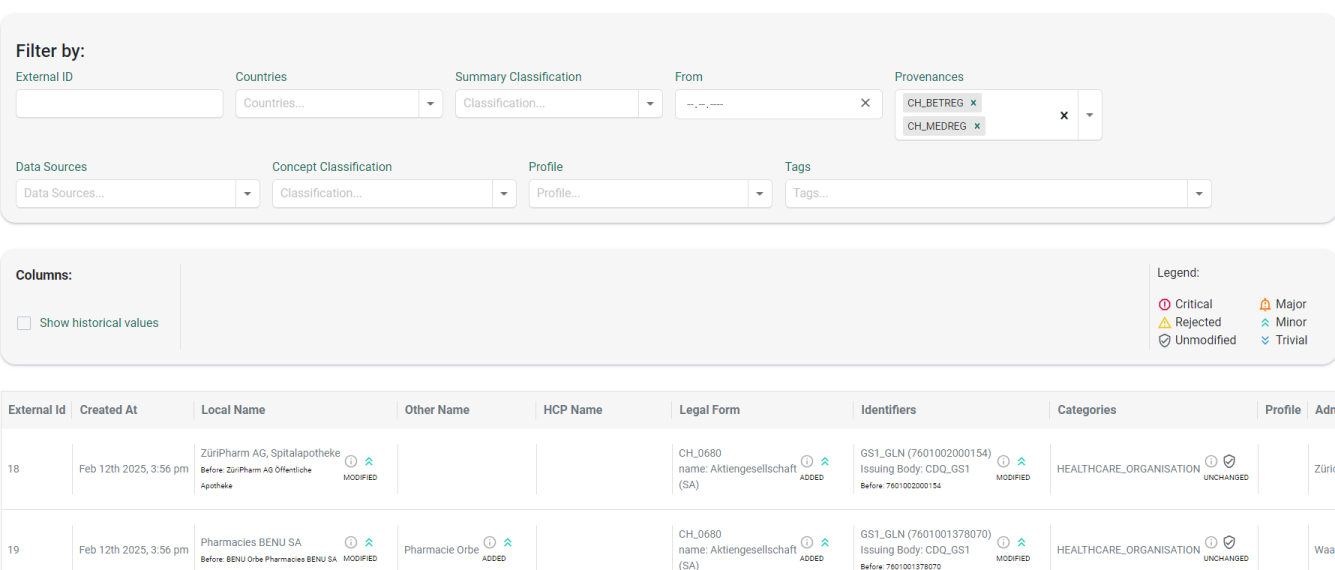
MEDREG has specific rules dedicated to classification, which can be adjusted for your needs in the Augmentation Configuration.
To generate reports:
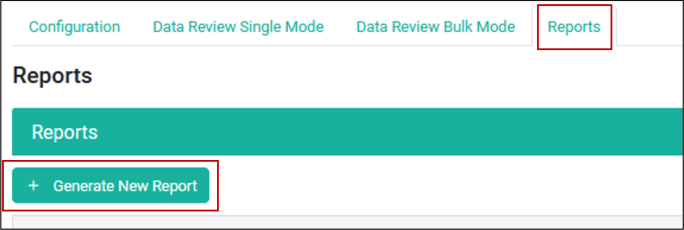
- Go to the Data Clinic app,

- Select the Reports tab,
- Click on the Generate new report button,
- Configure the report: - Provide Report Title, - Select
HCP HCO Monitoring Reportas the report type, - Select data sources from your mirror, - SelectCH - Switzerlandas a country, - Select the checkboxInclude Records With No Insights, - Provide a date range for the report - Created At, - Select what type of updates you would like to see in this report - Summary Classification -MAJOR,CRITICAL
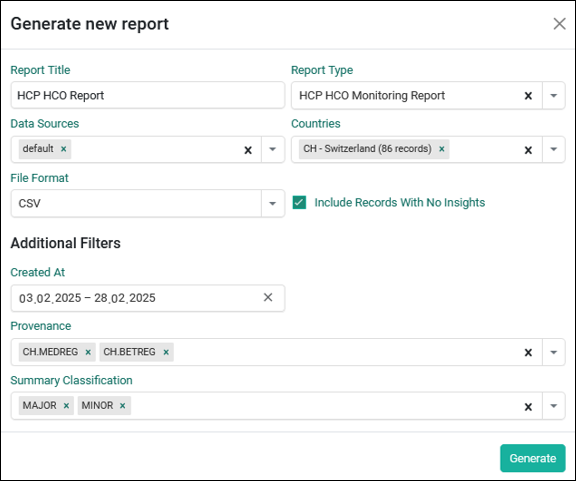
- Click Generate to create the report.
- Wait until the job is finished and download it

The report is divided into 3 parts:
- Business Partner - Shows basic information of Business Partners from the mirror as externalId, name, address, GLN, or if this BP is marked for deletion (required mapped tags),
- Linkage information - thanks to "Include Records With No Insights," you will see all Business Partners with specific categories that tried to link with the reference data source. In case of success, you will see "d" Linkage details can also provide detailed information on the reason for the lack of linkage,
- Updates—Based on Summary Classification, we provide only those concepts for which classification was, for example,
MAJORorCRITICAL. If we don't provide any classification filtration, all updates for specific data ranges will be returned.
You can get an automatically generated HCP HCO Monitoring Report. It's sent only when we detect any linkage attempts or new updates available for your Business Partner. To enable such monitoring, please contact your CSM.
We are constantly working on providing an outstanding user experience with our products. Please share your opinion about this tutorial!