Use Case
This use case outlines the optimal use of CDQ Cloud Services for implementing continuous monitoring of Business Partner Relations.
Learning Goals
In this tutorial, users will focus on the following tasks:
- Creating an augmentation configuration using the Augmentation Configurator cloud app,
- Creating a data monitor based on the prepared configuration using Data Clinic cloud app,
- Analyzing subscriptions in the Collaboration & Subscription Configuration app and generating Subscription Report in the Data Clinic cloud app,
- Analysing results in the Business Partner Update Browser app and generating an Update Report in the Data Clinic cloud app.
This tutorial is based on local data and specific naming. The presented results will be different from yours.
Login
Log into the CDQ Cloud Apps.
If you have no access to the CDQ Cloud App, ask your internal point of contact to create a CDQ dedicated account. Account details will be sent by email.
Data Mirror
To proceed with this tutorial the Data Mirror is needed. Go to this page to get more information.
Create a configuration to be used for the monitoring: (Let's set up a configuration for monitoring purposes.)
- Select the Augmentation Configurator app,
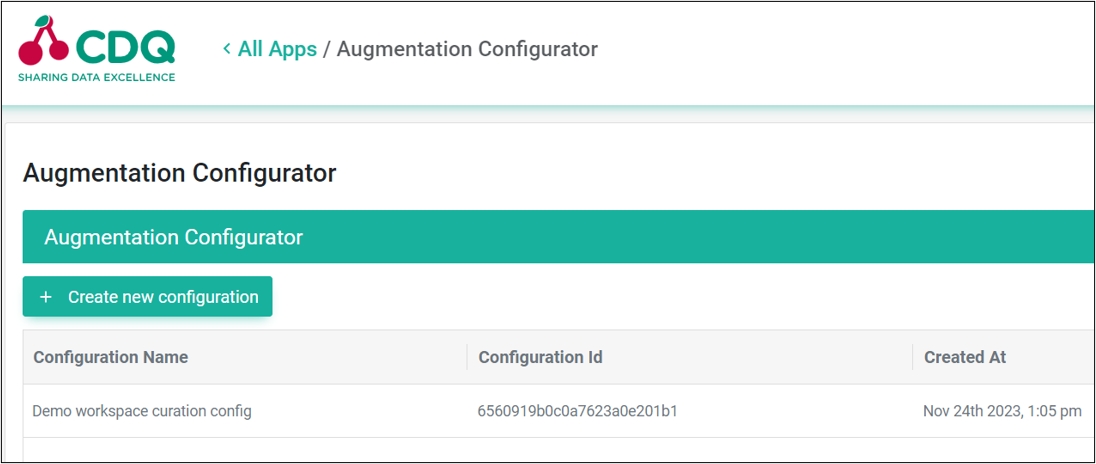
- Click the Create new configuration button,
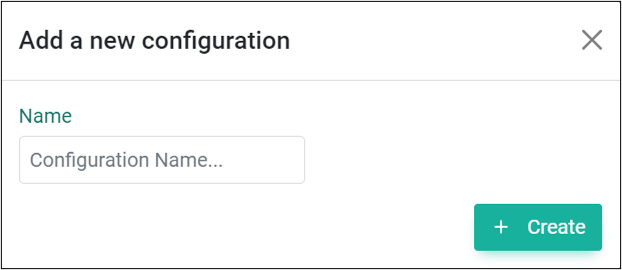
- Name the new configuration,
- Click the Create button,
- Refer to the table below for the Augmentation Configurator,
Each configuration is assigned a unique number.
- Choose a newly created configuration for the edition,
- Scroll down to activate Reference Data Sources,
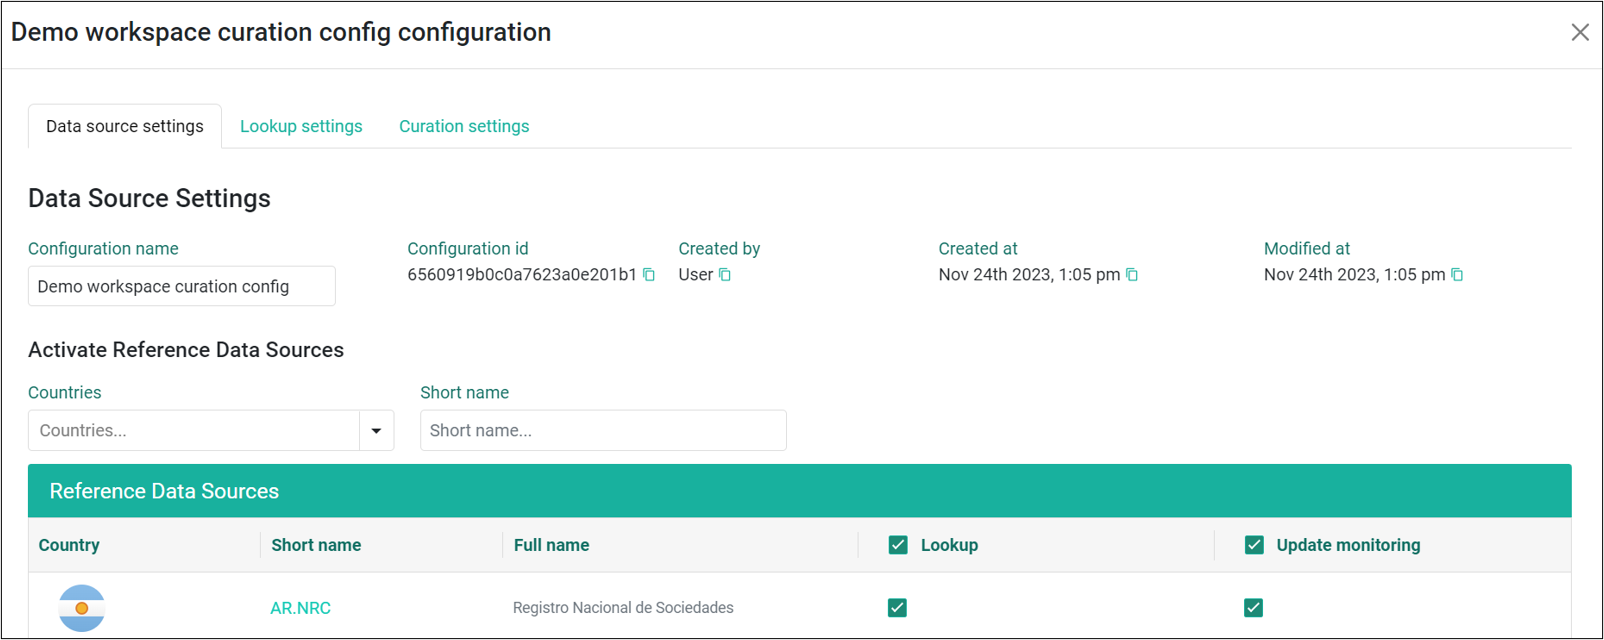
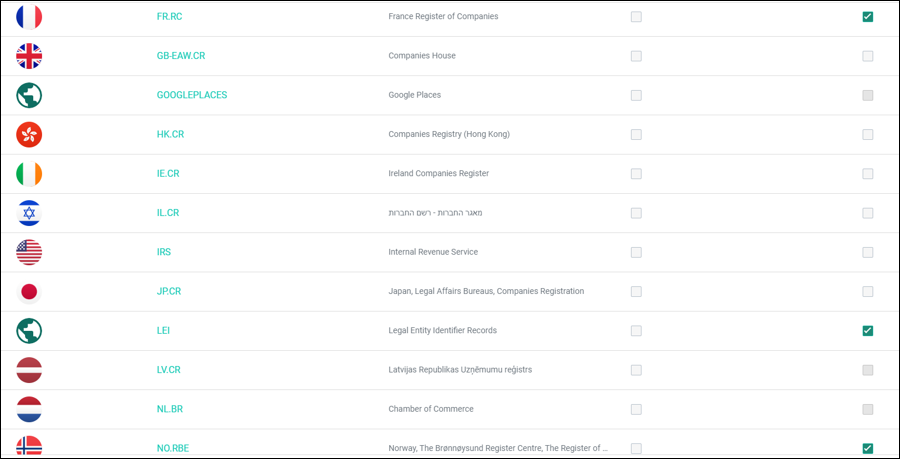
- Select data sources for Update monitoring to define which sources should be used
Relations are provided by:
- paid data sources, for example:
DnB - free data sources, for example:
LEI,FR.RC,NZ.CR,CH.UIDR,NO.RBE
- Go to the Curation settings tab,
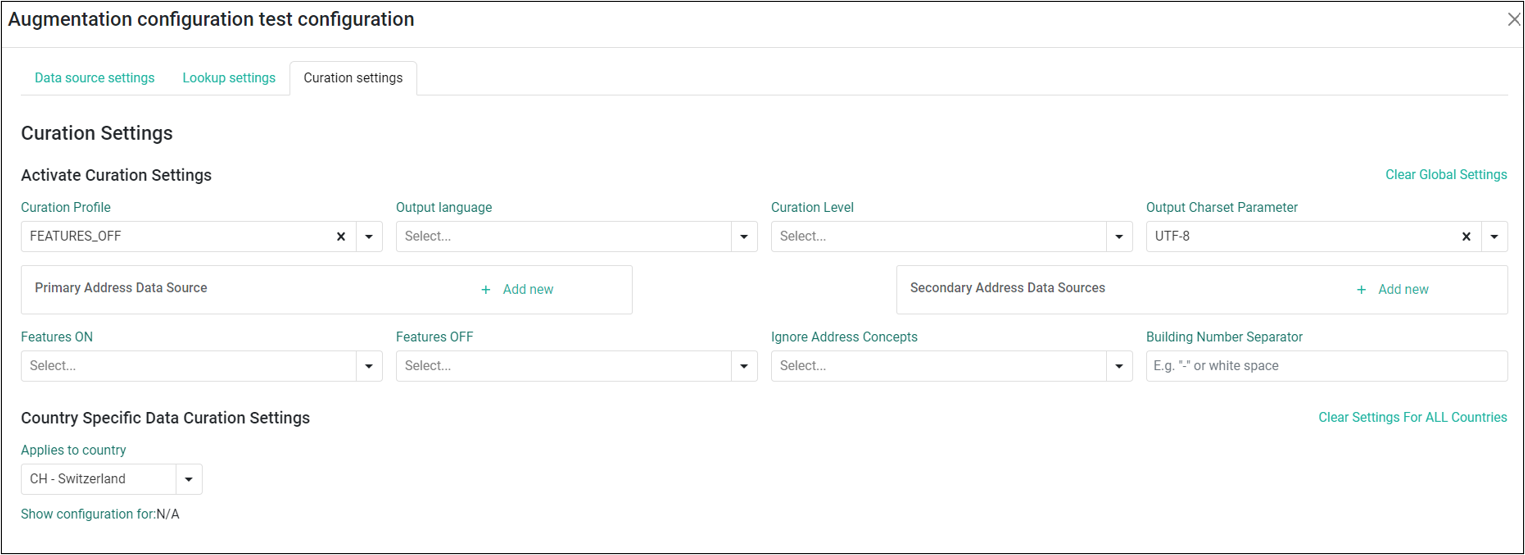
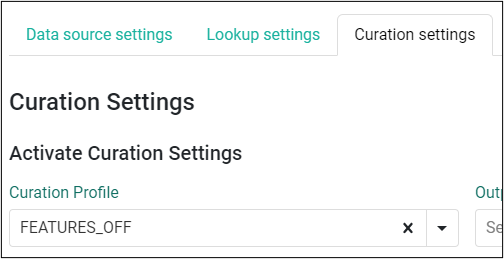
- If this configuration is created only for update monitoring, ensure that 'FEATURES_OFF' is selected for the Curation Profile.
- Click the Save configuration button.

Create an Augmentation Monitor and activate it using the previously created configuration:
- Go to the Data Clinic app,
- Click the Add New Data Monitor button,
- Configure the new monitor:
- Select the Data Sources for which the monitor should be turned on,
- Select Augmentation for the Monitor Type,
- Select the newly created Augmentation configuration,
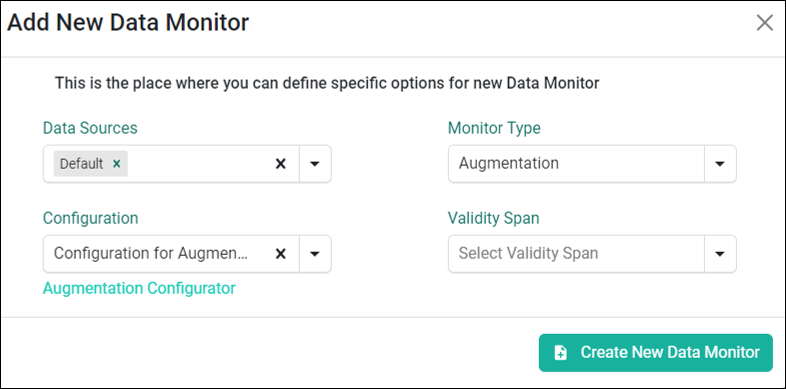
- Click the Create New Data Monitor button.
The subscription mechanism enables the selection of Business Partners to be monitored for updates. The linkage between Business Partners from the mirror and reference data sources is established using identifiers required based on the linkage strategy.
Without these identifiers, creating a connection and initiating monitoring is not possible.
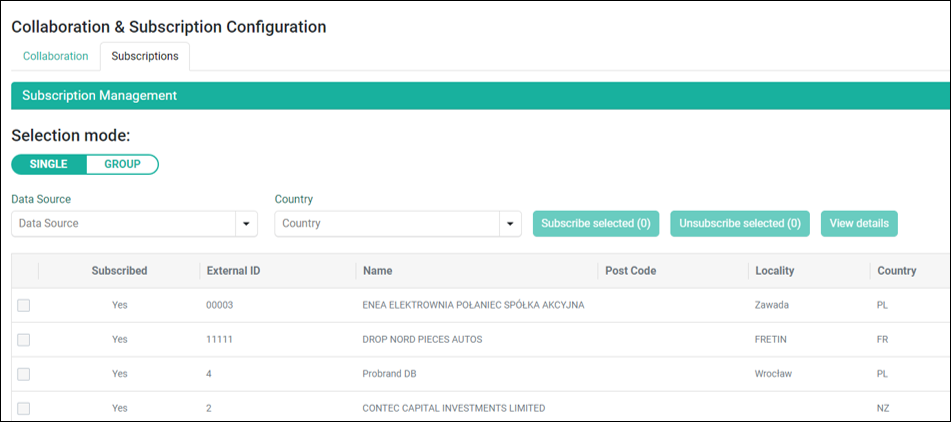
- Browse the subscriptions:
- Go to the Collaboration & Subscription Configuration app,
- Select the Subscriptions tab and set filter options,
All Business Partners are selected for subscription by default.
- Go to the Data Clinic App and click the Generate new report button,

The subscription report allows checking which Business Partners are subscribed for update monitoring in the xlsx report.
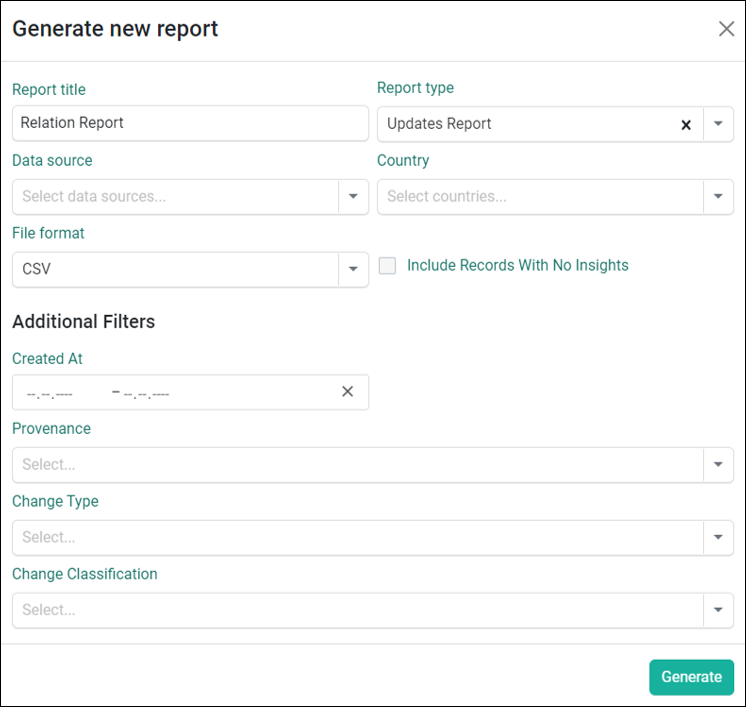
- Configure the report:
- Provide the report title,
- Select the Subscriptions Report for a report type,
- Select a data sources (the same as for Data Monitor),
- Select countries (optional),
- Choose a file format,
- Click the Generate button to start the job with the report creation.
- Wait until the job is finished,

- Download the report,

- Review your report:
- If a CDQ ID is present in the raw data for a specific data source, it indicates that the linkage has been created,
- If certain business partners do not have any linkage, it is worthwhile to enhance identifiers based on the augmentation of lookup results.
The subscription report was generated successfully.

To read relation updates:
- Go to the Business Partner Update Browser app,
- In the Updates tab set filter parameters:
Tags:
RELATION_ADDED,RELATION_MODIFIED
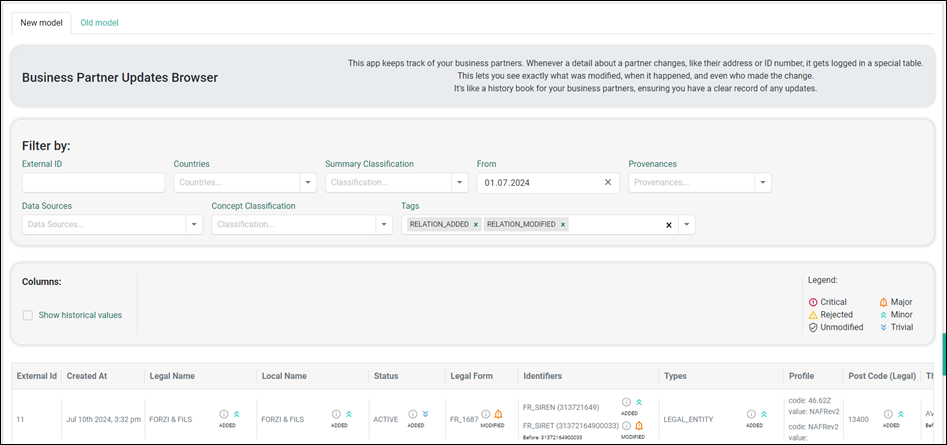
To generate the Business Partner updates report repeat steps 2–5 from the Step 3.
The Business Partner updates report was generated successfully.
We are constantly working on providing an outstanding user experience with our products. Please share your opinion about this tutorial!