This tutorial explains how to configure, activate, and analyze results from a Tax Guard Monitor in CDQ. The Tax Guard Monitor asynchronously qualifies the Business Partners stored in a data mirror against official tax and business registers, checking whether the VAT identifier, name, and address of each partner are consistent with the reference data. This lets you continuously verify VAT compliance across your data instead of running manual, one-off checks.
Learning Goals
In this tutorial, you will learn how to:
- activate the tax data sources used for qualification
- create a Tax Guard qualification configuration
- create and activate a Tax Guard Monitor
- generate and interpret a qualification report
To go through the tutorial, you have to log in to the CDQ Cloud Apps.
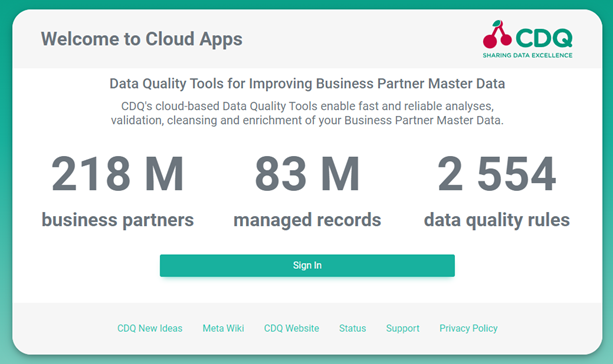 |
Click on Sign In and enter your username and password.
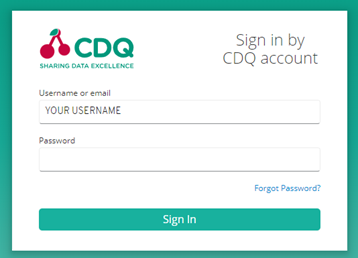 |
If you have no access to the CDQ Cloud App, ask your internal point of contact to create a CDQ dedicated account. Account details will be sent by email.
Qualification relies on official registers that must be activated for your organization before the monitor can use them. VIES is used by default for European Union Business Partners, while some sources, for example AT.FON, require additional credentials. You activate and configure these sources in Step 2.
Tax Guard qualifies the identifier, name, and address of a Business Partner. In the CDQ data model, the city is called locality and the street is called thoroughfare. Each address component (postcode, locality, and thoroughfare) provides its own decision. However, all components are combined into a single address decision.
CDQ is integrated with a range of official tax and business registers that act as reference data for qualification. Before these sources can be used by a Tax Guard Monitor, they must be explicitly activated. Activation is a one-time process for the entire organization, and once completed the activated data sources can be used across all workspaces.
- Navigate to Global Settings.
- Locate the data source you want to activate. You can filter the list by country of origin, name, and activation status.
- Open the Settings for the required data source and modify it:
- provide the necessary credentials (if the source requires them),
- activate the source using the activation toggle,
- click Save credentials.
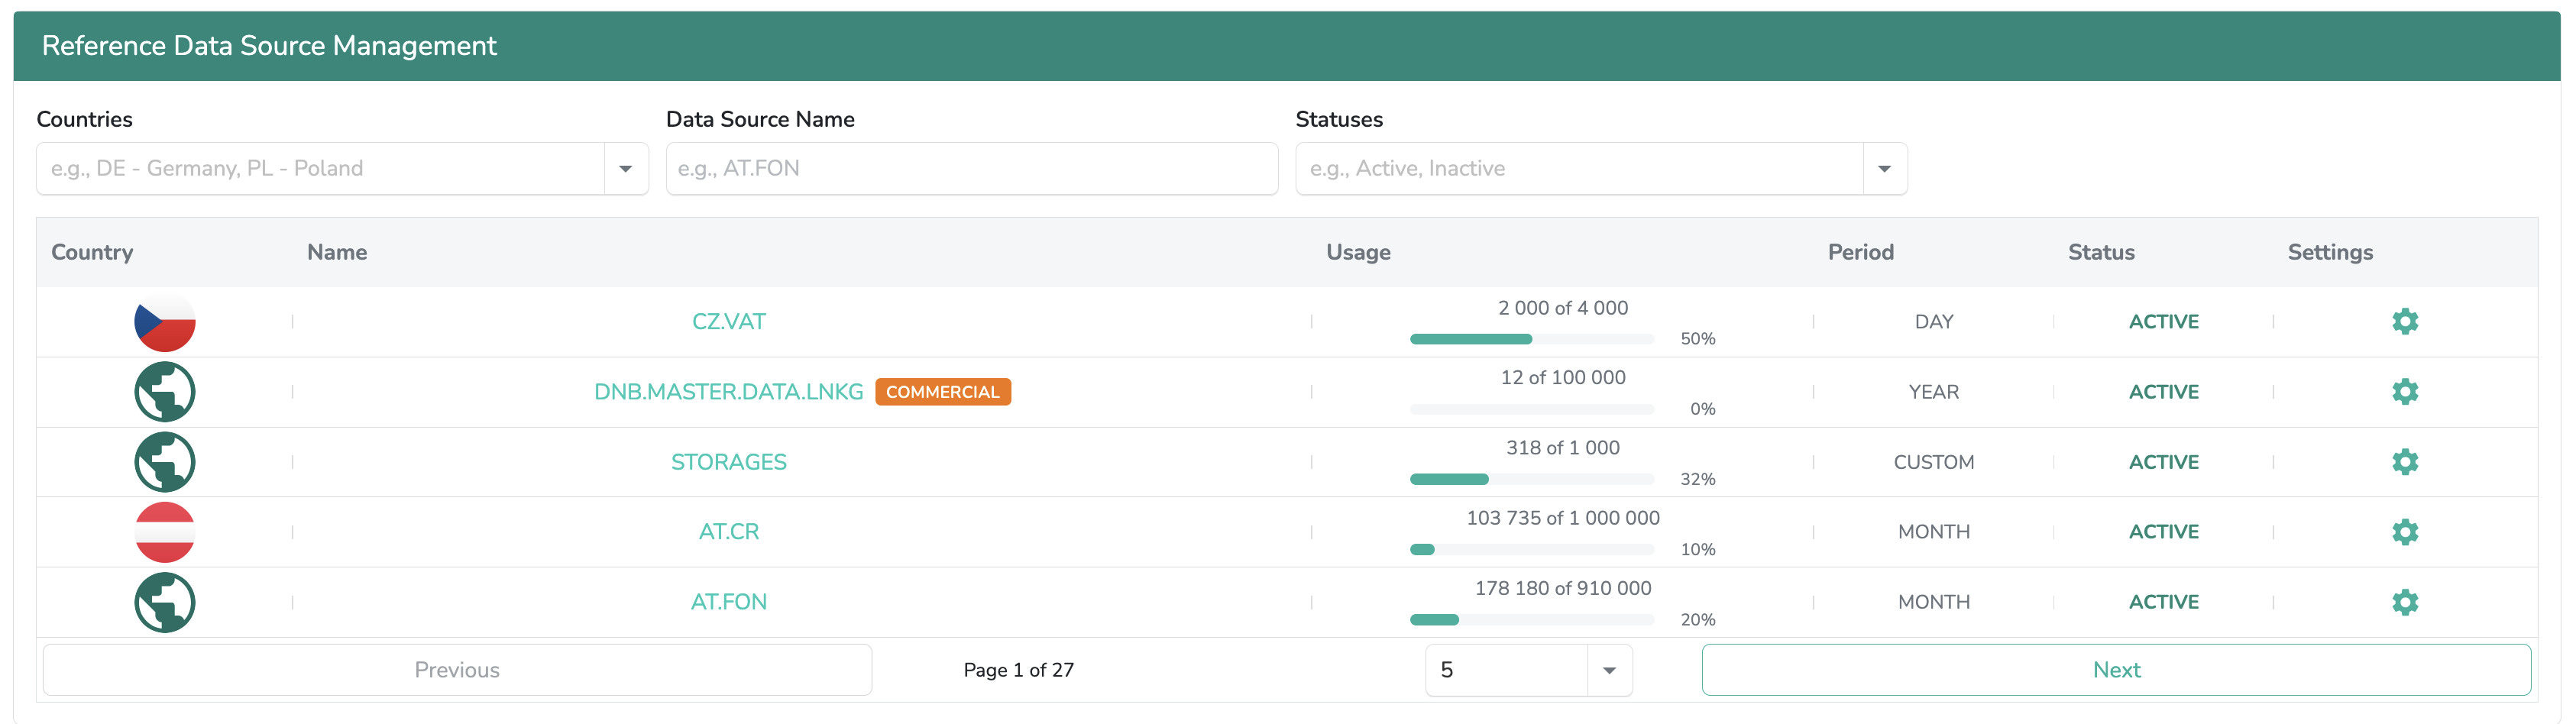
Some data sources require your own credentials and are subject to quotas. AT.FON, for example, must be activated with valid credentials and allows a limited number of checks per Business Partner per day. Activate only the sources you need for qualification or specify them in the Tax Guard Configuration (only those will be used but still need to be active).
CDQ currently provides qualification against 18 official registers. VIES covers (by default) the European Union, while additional registers extend coverage to countries outside the EU. Keep in mind that the European Union registers differ in their abilities to qualify EU Business Partners. For more guidelines please look carefully into the Understanding the Qualification Process article.
Expand for the full list of qualification data sources
| Code | Description |
|---|---|
AR.NRC | National Registration Code for Argentina |
AT.CR | Commercial Register number for Austria |
AT.FON | Fiscal Organization Number for Austria |
AU.BR | Business Registration number for Australia |
BR.RF | Federal Revenue number for Brazil |
BZST | Federal Tax Office identifier for Germany |
CA.CR | Corporate Registry number for Canada |
CH.UIDR | Unified Business Identification Register for Switzerland |
CZ.REE | Register of Economic Entities for Czech Republic |
DK.CR | Central Register of Companies for Denmark |
EU.EORI | Economic Operators Registration and Identification for the EU |
FR.RC | Registre du Commerce (Trade Register) for France |
NO.RBE | Register of Business Enterprises for Norway |
PL.NOBR | National Official Business Register for Poland |
SG.BR | Business Registration number for Singapore |
UK.EORI | Economic Operators Registration and Identification for the UK |
UK.VAT | Value Added Tax registration number for the United Kingdom |
VIES | VAT Information Exchange System for the European Union |
For the always up-to-date list, refer to the Data Sources catalog.
The Tax Guard Monitor is driven by a qualification configuration that selects a qualification profile. The profile determines which registers are queried and how the identifier, name, and address are checked.
- Select the Tax Guard Qualification Configurator cloud app.
- Click Create, provide a name for the configuration, and click Create again.
- In the configuration table, confirm that the new configuration has a unique number assigned, then select it for editing.
- In the details section, choose a Qualification Profile:
EU TAX QUALIFICATION, qualifies European Union Business Partners, usingVIESby default (andAT.FONwhen required for German partners),WORLDWIDE TAX QUALIFICATION, extends qualification to registers outside the European Union.
- If you want to change the usage of the selected profile you can select data sources that you want to employ (in this case only selected data sources will be used).
- Choose proper features on or off (if needed).
- Click Save Configuration.
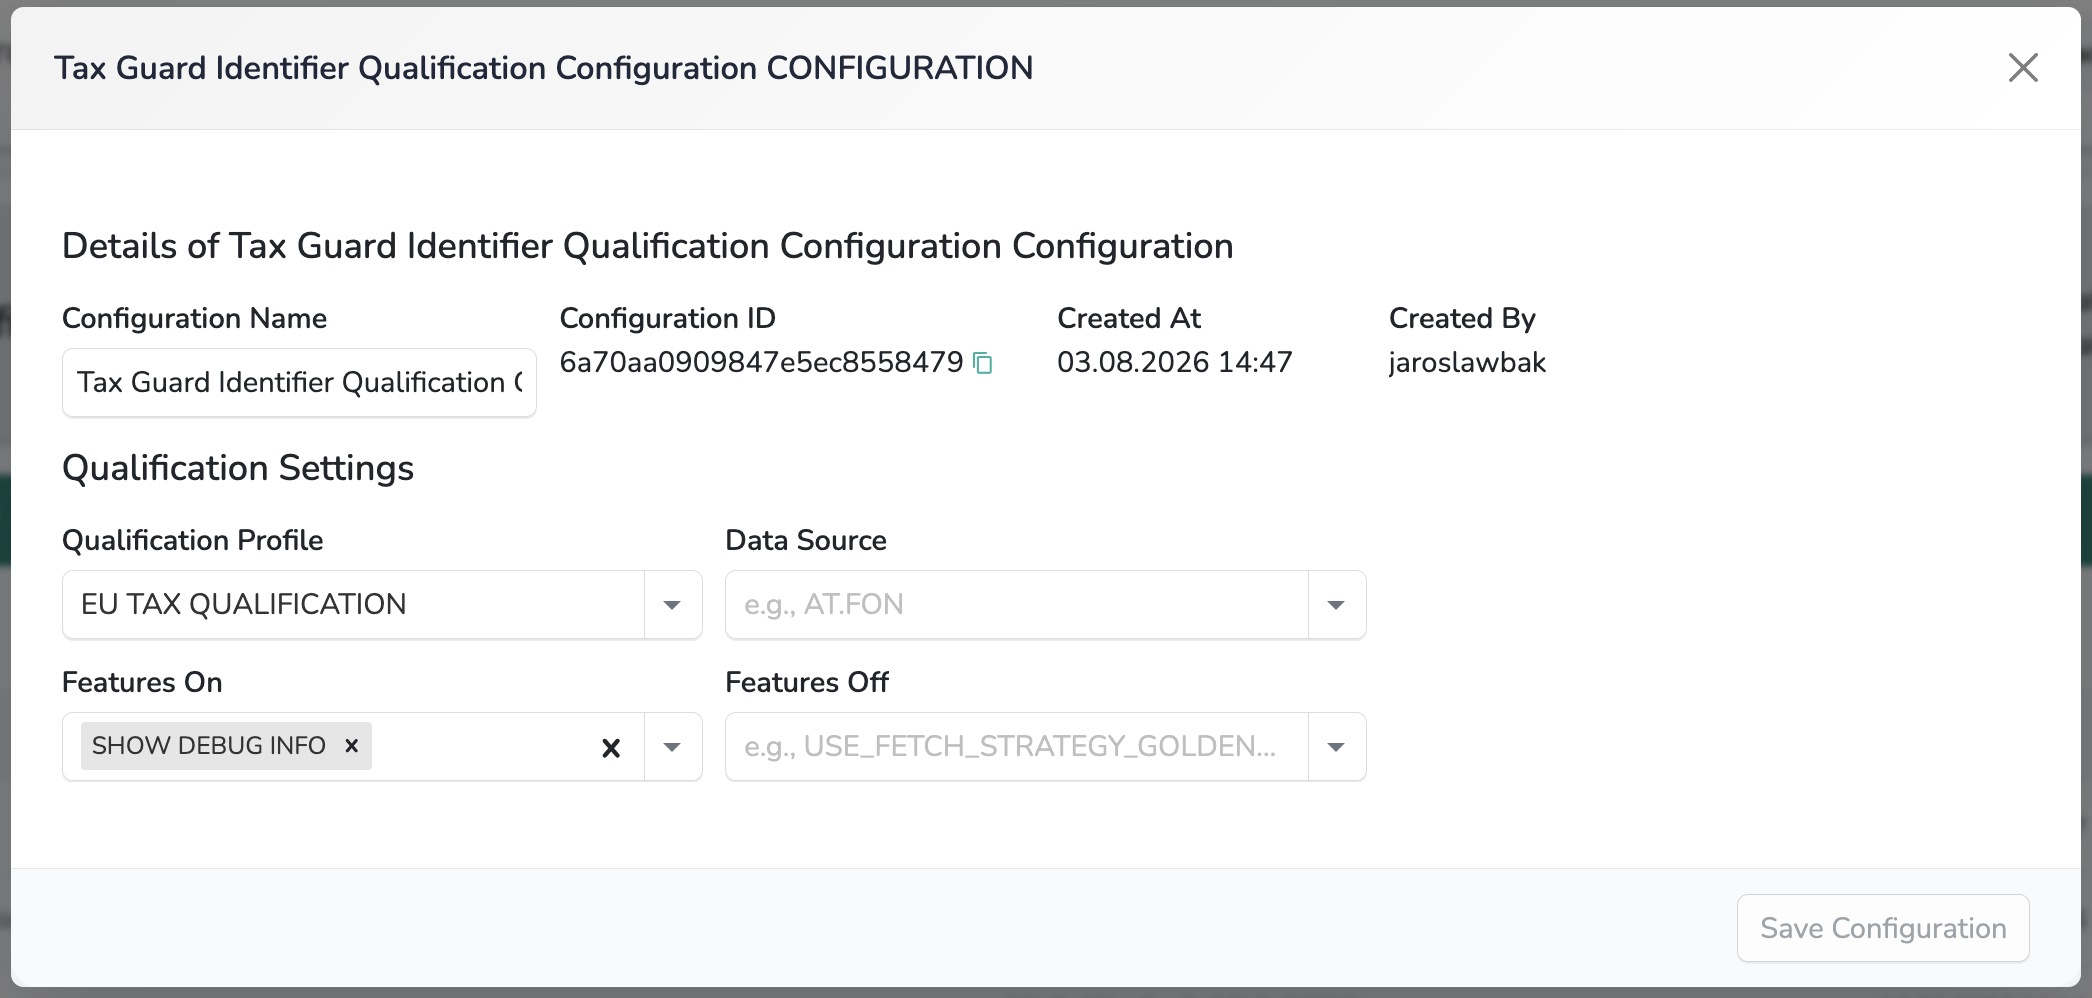
Within a profile you can narrow down which registers are used through the dataSources option, for example "dataSources": ["VIES", "BZST"]. Results are always separated per data source, so each source produces its own qualification decisions.
Expand for qualification profiles and features
Profiles
EU TAX QUALIFICATIONusesVIESas the default source for all EU countries. To fully qualify German Business Partners,AT.FONis the only option and must be activated with its credentials.VIESdoes not qualify name, thoroughfare, postcode, and city for German Business Partners (only an identifier can be qualified). Within this profile,dataSourcesacceptsVIES,BZST, andAT.FON.WORLDWIDE TAX QUALIFICATIONbehaves likeEU TAX QUALIFICATIONforVIESbut additionally supports registers for countries outside the EU. Some sources need credentials configured in the workspace global settings.
Features
The following features can be enabled for a qualification run:
| Feature | Effect |
|---|---|
FORCE EXTERNAL CALL | Forces a direct call to the reference data source whenever possible, useful for obtaining a VIES request confirmation. |
SHOW LOOKUP RESULTS | Displays the lookup results and the Business Partner considered during qualification, per queried data source. |
SHOW BUSINESS PARTNER | Returns the Business Partner record that was sent for qualification. |
SHOW DEBUG INFO | Adds details about the qualification process (number of applied rules, external service responses, and more). Enabled by default; disable it with "featuresOff": ["SHOW_DEBUG_INFO"]. |
The Tax Guard Monitor processes the Business Partners in a data mirror asynchronously and applies the qualification configuration created in the previous step.
- Go to the Data Clinic cloud app.
- Click Add New Data Monitor.
- Configure the new monitor:
- select the Data Sources for which the monitor should be turned on,
- choose
Qualificationfor the Monitor Type, - choose the Tax Guard qualification configuration created in Step 3,
- select a Validity span (optional).
- Click Create New Data Monitor to save.
- Wait until the job for the new monitor is finished.
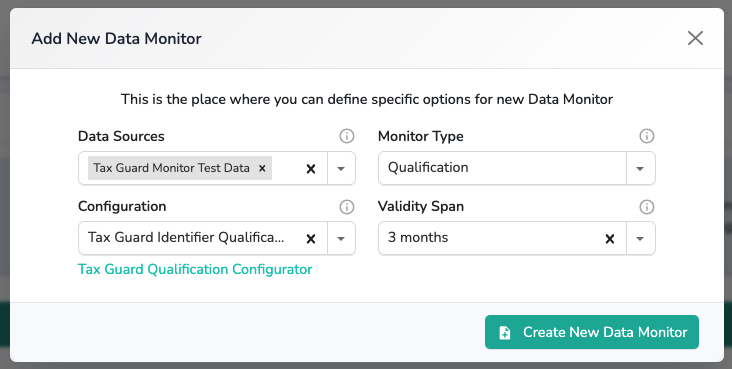
With a validity span configured, a Business Partner is refreshed if no reevaluation trigger occurs within the selected period, keeping the qualification results current.
Once the monitor has finished, generate a report to review the qualification decisions.
- In the Data Clinic app, open the Reports tab.
- Click Generate New Report and configure it:
- provide a Report Title,
- choose a report type,
Tax Guard Qualification Reportfor a report, - select the same Data Sources used for the monitor,
- limit the report to specific countries if needed,
- choose a file format (optional).
- Click Generate to start the report job.
- Wait until the job is finished, then Download the report.
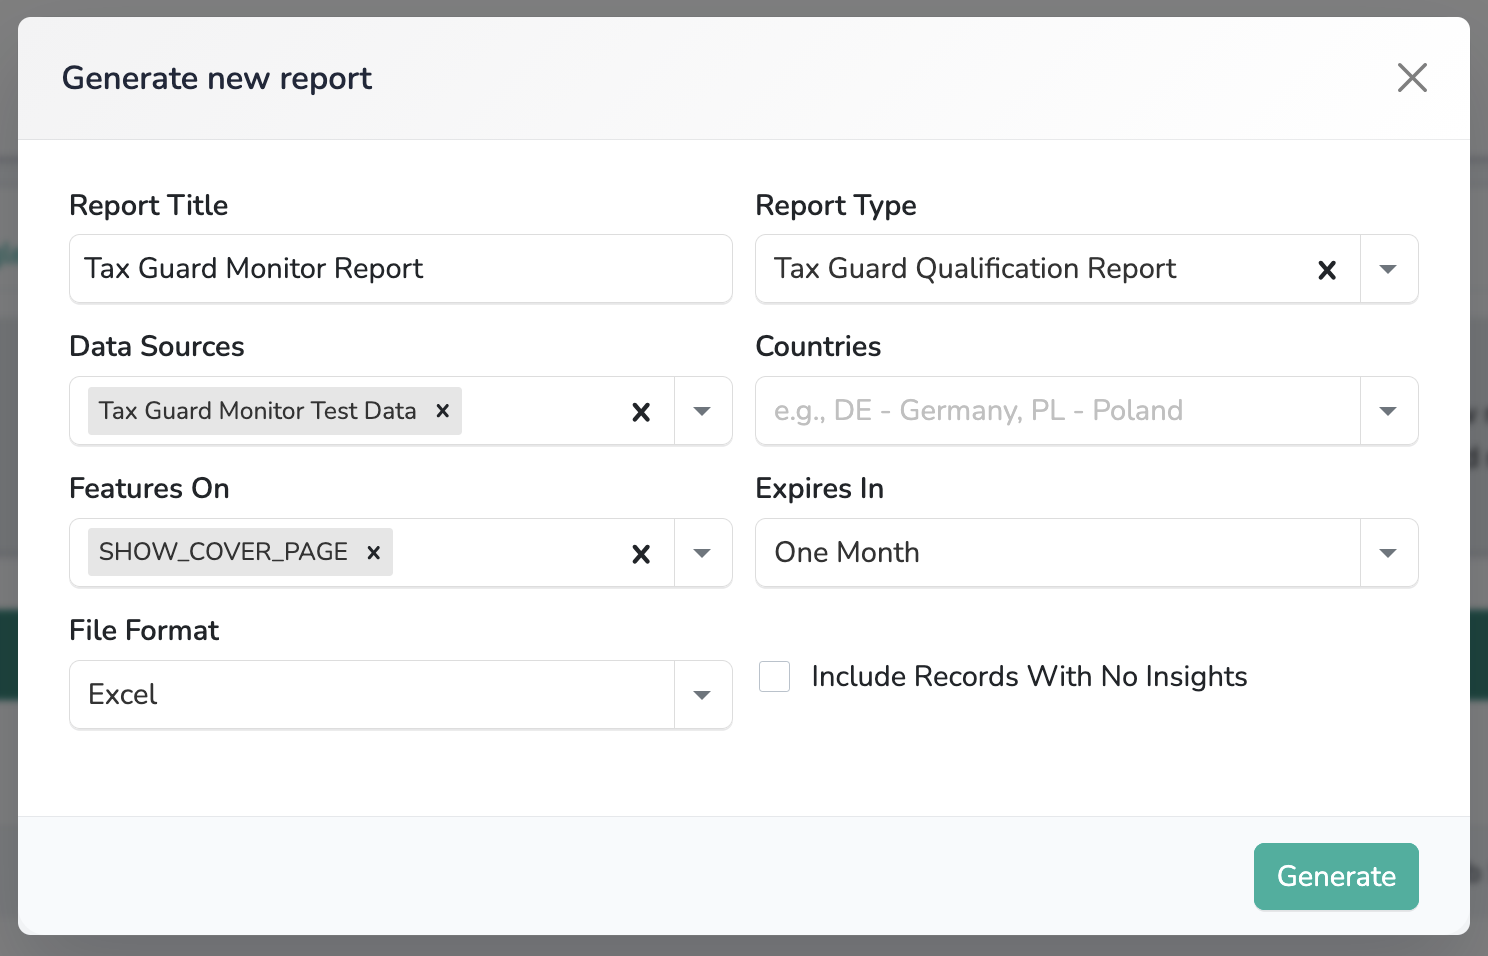
After a few minutes, depending on the size of the monitor results, the report becomes available for download.
Each qualified element (identifier, name, city, street, postcode) is evaluated by a distinct business rule that returns one decision. The report presents these decisions per Business Partner and per data source.
| Decision | Meaning |
|---|---|
VALID | The input value matches the reference value from the qualification data source. |
INVALID | The input value does not match the reference value from the qualification data source. |
NOT_PROCESSED | No applicable rule exists, a rule was deactivated, or the field could not be processed. |
NO_INPUT_PROVIDED | No input value was provided, so no comparison was possible. |
NO_REFERENCE_AVAILABLE | The data source returned no reference value to compare against. Review these cases. |
EXECUTION_ERROR | The rule did not execute correctly, for example due to an internal issue or an unavailable data source. |
The overall decision for each Business Partner is derived from the individual decisions using this hierarchy, where the rightmost result wins: NOT_PROCESSED < NO_INPUT_PROVIDED < VALID < NO_REFERENCE_AVAILABLE < INVALID < EXECUTION_ERROR.
Some registers can only confirm validity rather than return full reference data. For example, VIES for Spanish Business Partners reports only whether a value is valid, VIES for German Business Partners validates the identifier only, and AT.FON allows a limited number of checks per Business Partner per day, exceeding it yields EXECUTION_ERROR.
You have activated the tax data sources, created a Tax Guard qualification configuration, set up and activated a Tax Guard Monitor, and generated a qualification report. Your Business Partners are now qualified against official registers, and the report shows, per partner and per data source, whether the identifier, name, and address are consistent with the reference data.
- Understanding the Qualification Process
- How to set up and activate Duplicate Guard Monitor
- How to generate reports in the Data Clinic
- How to create an API key
- Data Sources catalog
- Tax Guard product page
We are constantly working on providing an outstanding user experience with our products. Please share your opinion about this tutorial!