This guide will walk you through the process of creating, reading, updating, and deleting your personalized configuration, which you can later use in the Email Domain Guard App to verify and analyze email addresses.
Learning Goals
In this tutorial, you will learn how to:
- Manage Email Domain Guard configuration in Cloud Apps.
Check your CDQ apps account.
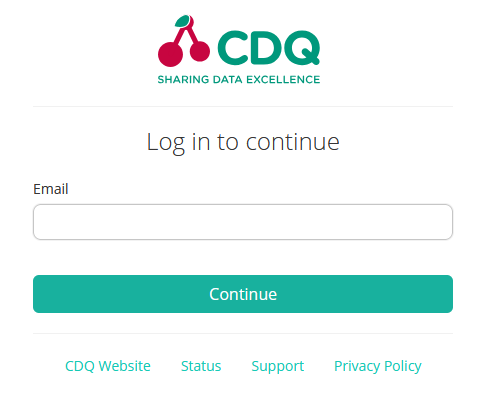
- Log into the CDQ Cloud Apps
 |
No account?
- If your organization is already a CDQ customer, ask your internal point of contact to create a CDQ dedicated account or request account. Account detail will be sent by email.
- If your organization is not yet a CDQ customer, please contact us to get started.
To manage Email Domain Guard configuration, follow these steps:
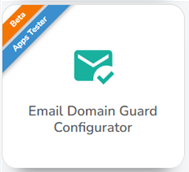
- Navigate to Email Domain Guard Configurator app.
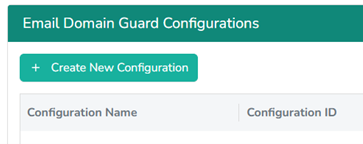
- Click Create Configuration to initiate a new configuration setup.
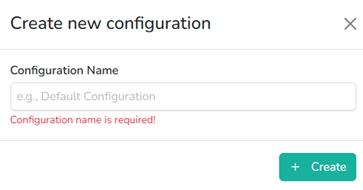
- Provide a name for the configuration and click Create to finalize its creation.
Once created, the configuration will have baseline configuration applied automatically.
To check or edit this configuration click See details button:

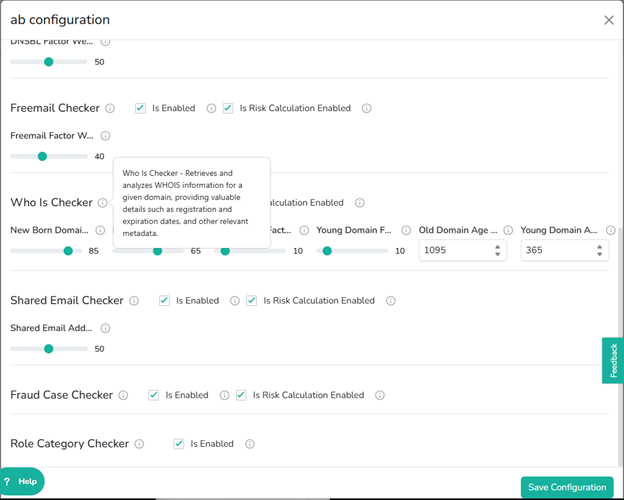
- Customize the configuration by adjusting the weights of specific factors for various checkers, disabling checkers, or excluding them from the Risk Score calculation. Use the information icons for detailed explanations of checkers and factors.
We are constantly working on providing an outstanding user experience with our products. Please share your opinion about this tutorial!