The Email Notifications feature in CDQ Cloud Apps empowers users to efficiently configure and manage fraud alert notifications. This functionality ensures streamlined communication and enhanced security by enabling organizations to customize notification settings, add recipients, and monitor fraud alerts effectively.
Learning Goals
In this tutorial, you will learn how to:
- Manage email notifications in Cloud Apps.
Check your CDQ apps account.
- Log into the CDQ Cloud Apps
 |
No account?
- If your organization is already a CDQ customer, ask your internal point of contact to create a CDQ dedicated account or request account. Account detail will be sent by email.
- If your organization is not yet a CDQ customer, please contact us to get started.
To configure fraud alert notifications, follow these steps:
- Navigate to Global Settings app.
- Select the desired Workspace where the notifications should be applied.
If no fraud alert configuration exists, click Create Configuration to activate it automatically.
- Click on the Manage Notifications button.
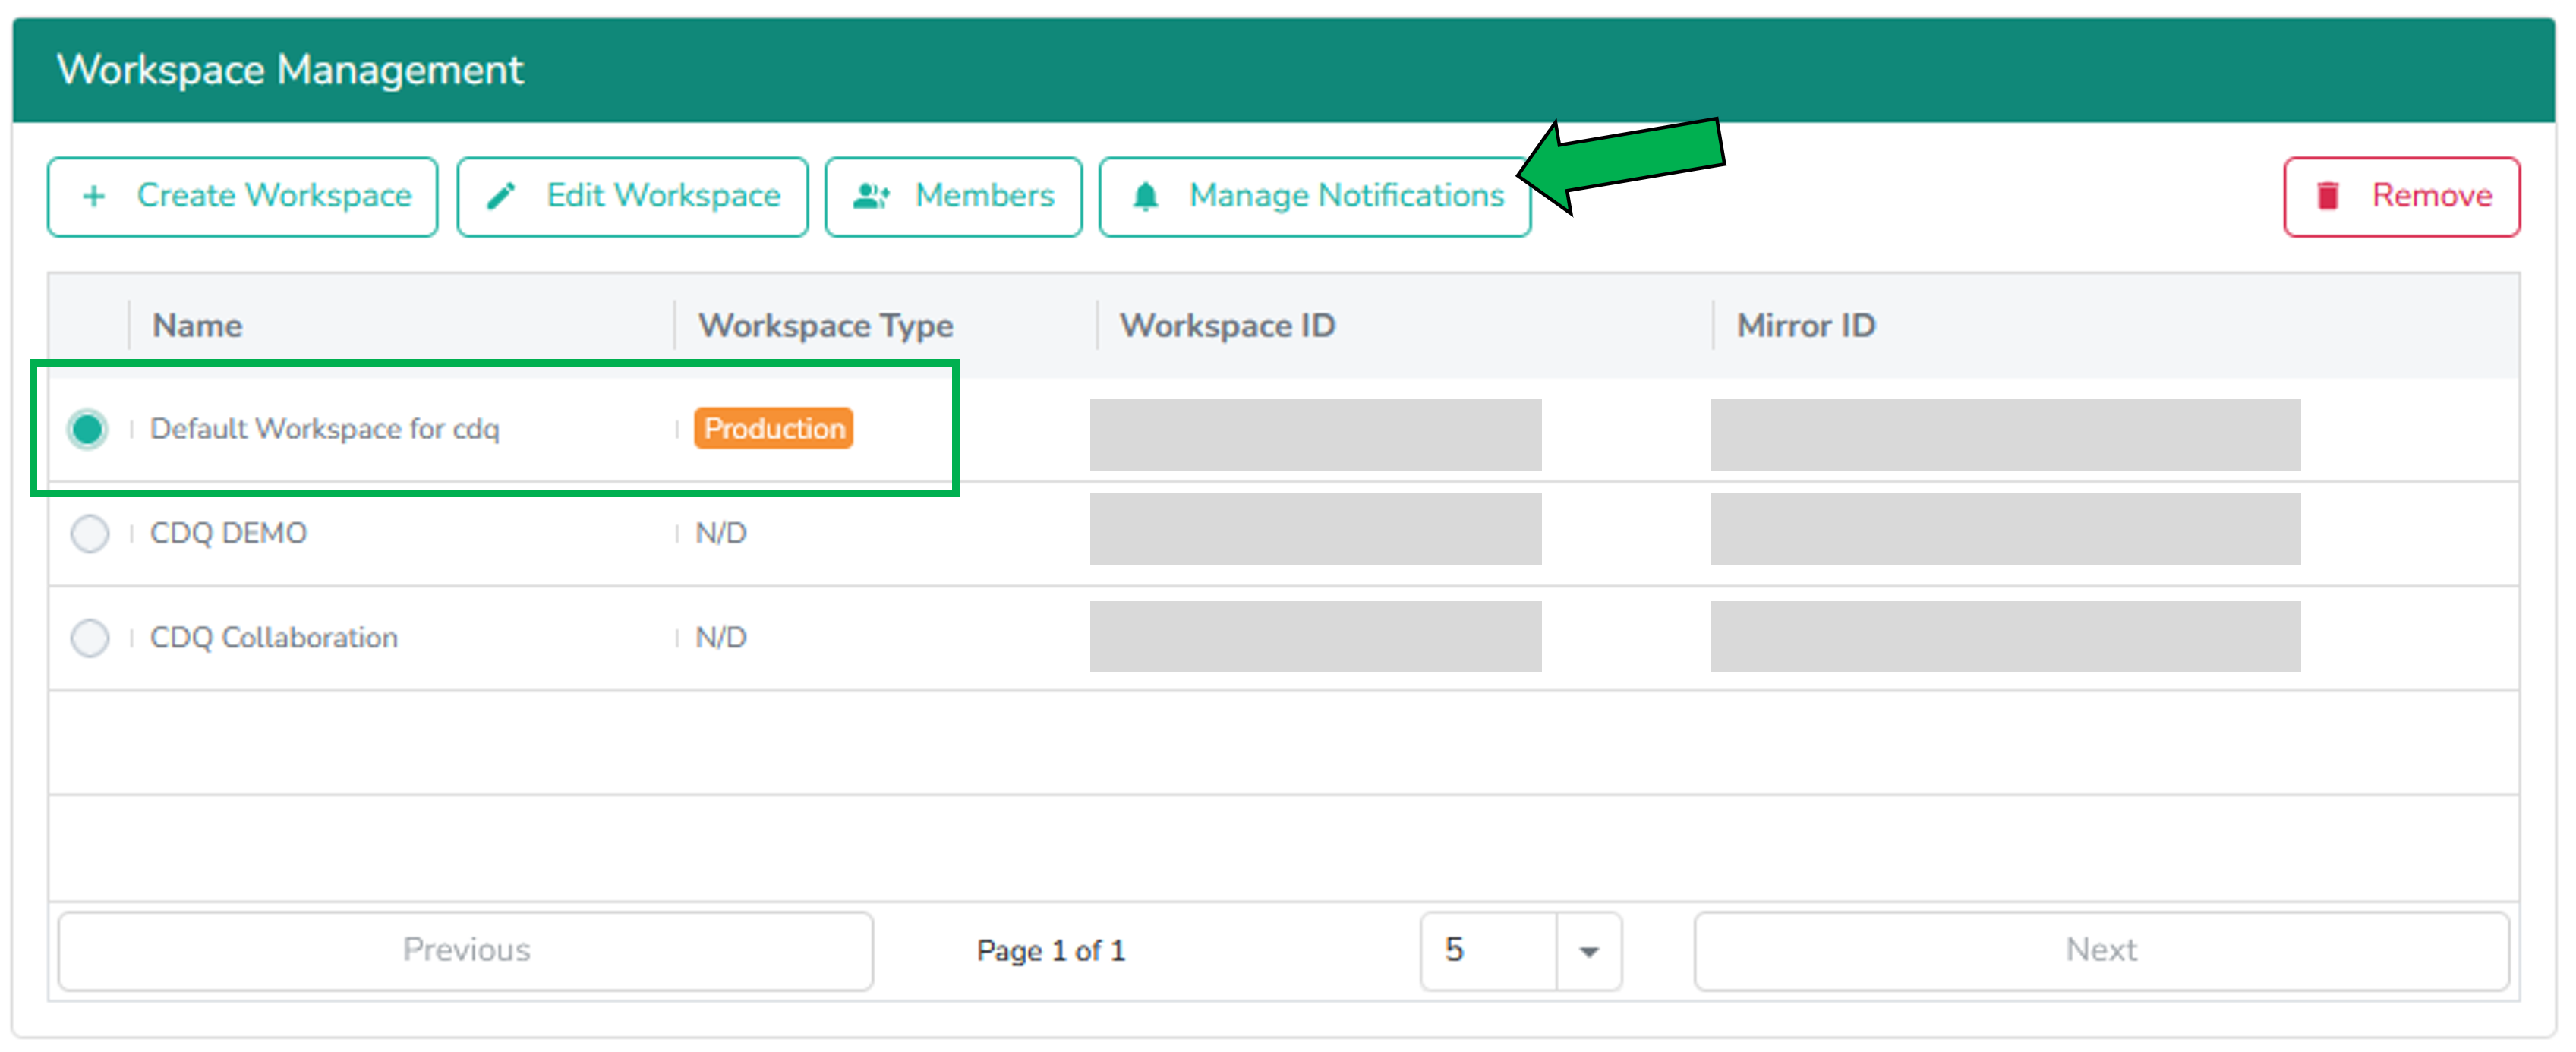
Click on Create Configuration if there is no Fraud alert activated. It will be active automatically after creation.
Go to the Fraud Email Tab
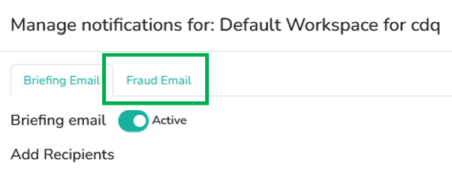
- Use the toggle button to activate/deactivate Fraud email.
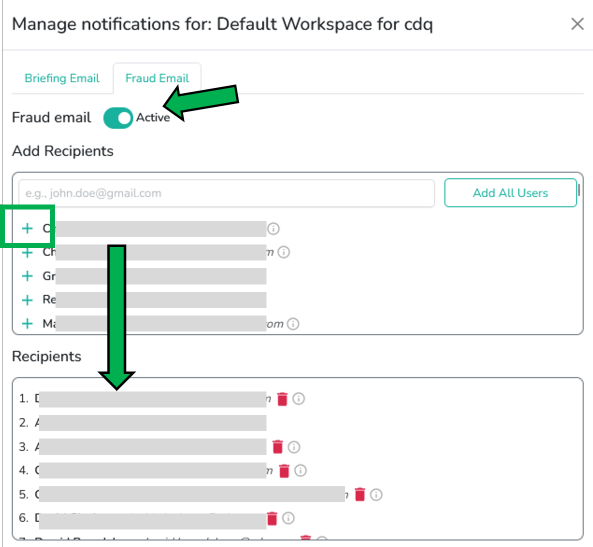
In the Add Recipients section:
- Add internal users by clicking the + button next to their names.
- To add external recipients, enter their email addresses in the input field and click the confirmation button.
Verify that the selected email addresses appear under the Recipients tab.
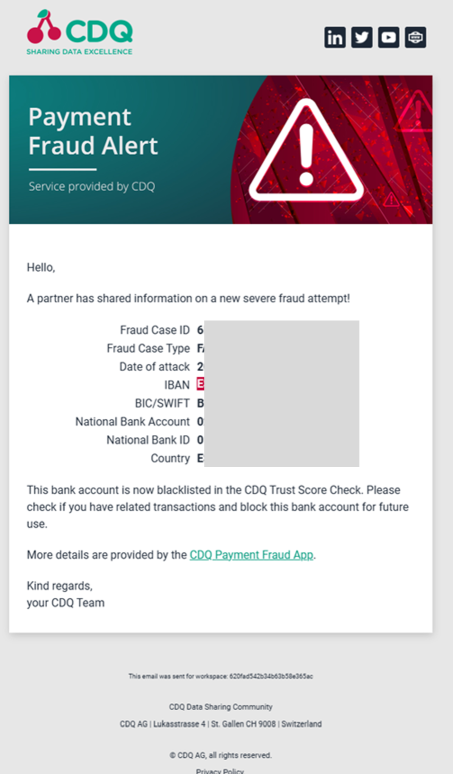
Review the example email that will be sent to all added recipients.
We are constantly working on providing an outstanding user experience with our products. Please share your opinion about this tutorial!